Scale model airbrush techniques (From A Pro Modeler)
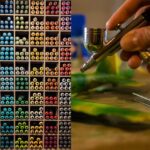
Whether you’re using a dual-action airbrush or a single-action airbrush, this guide will take you through all the airbrush techniques to help you transform your scale models.
For many scale modelers, using a painter’s brush is a cost-effective way to get a clean finish on their model kit. But, a painter’s brush won’t always give the clean finish you want. If you want a more professional finish than what a paintbrush offers, airbrushing is the ideal painting technique to use.
Airbrushing is an excellent and efficient technique for your large and small scale models, but it’s not a skill everyone knows how to use.
How to prepare your working desk and protective gear
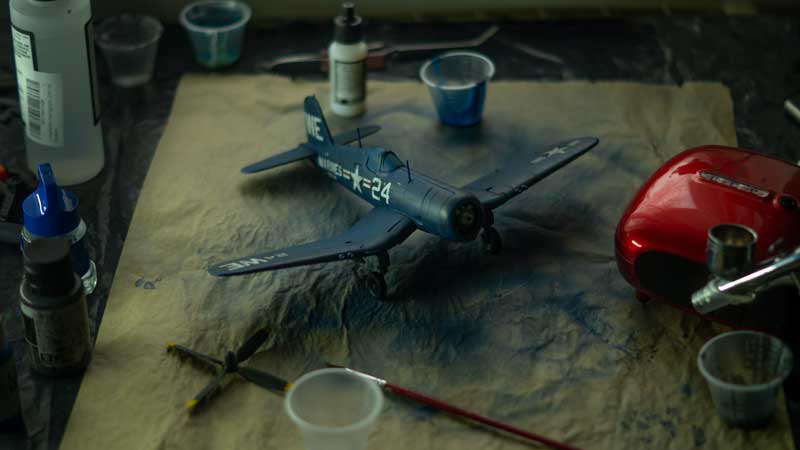
Your workspace and protective gears are two items to consider before airbrushing because they ensure your general well-being and conducive working environment. Here is how to prepare the workplace and protective gear.
- Step 1: Clear your workplace of everything that should not get painted. Paint sprays stick to the object you spray them on and everything else in the vicinity.
- Step 2: Line the work surface generously with newspapers or brown papers. Instead, get a spray box for model making to make the tedious covering work easier for you.
- Step 3: Ensure that the workplace is free from dust and fuzz, as these can settle on the still-wet paint.
- Step 4: Get a daylight lamp for good lighting. It helps you distinguish color nuances to create your model kit realistically. If you are right-handed, place the lamp on the right to avoid shadows as you spray paint. The same goes for right-handed people.
- Step 5: Arrange tools and protective gear closely.
- Step 6: Get a comfortable chair or find a good sitting position to support your back.
- Step 7: Ensure your workplace is well-ventilated, even if you work with water-soluble paints. Paint mists could easily damage your lungs if the room is poorly ventilated.
- Step 8: If you work with paints containing solvents, sure keep a breathing mask, protective gloves, and goggles close.
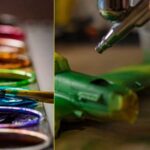
How to prepare your paint for airbrushing
Many paint labels will often classify the paints as airbrush paint, but it does not mean you can use the paint straight from the can. Paints used in an airbrush require thinning to sit properly on your model. If you use the thick airbrush paint without thinning it you risk clogging and overworking the airbrush. The spray pattern will also be inconsistent, giving you a poor finish.
Whether you use acrylic, enamel, or lacquer paint, here’s how to prepare them for airbrushing.
- Shake your chosen paint
- Use a toothpick or thin wood to loosen any pigment
- Mix the paint with the solvent, then shake.
- Add the thinner to ensure the paint runs through your airbrush without hiccups. 1:3 is the ideal thinner-to-paint ratio to give you that perfect milky consistency you need.
Pro Tip: Acrylic paints often clog the nozzle of the airbrush, which ends up in a splattering effect. To avoid this, flush the airbrush nozzle with water. If you intend to use rubbing alcohol as thinner, try to work in a well-ventilated space. Alcohol-based thinners will form fumes and leave an odor that may be harmful.
How to prepare your airbrush
Like the paintbrush, before using your airbrush, preparation is key to avoiding a poor finish. Here’s how to prepare your airbrush for a project.
- Step 1: Use a rag to wipe the reservoir from previous paint
- Step 2: Check for dry paint in the brush. If you find any, spray the appropriate cleaning agent or thinner through the airbrush with reasonable frequency.
- Step 3: Back flush the airbrush by pinching the nozzle of the airbrush with a small rag or paper to stop the airflow. It will deflect the air back into the airbrush chamber and loosen any dried material, sending it into the cleaning bottle.
- Step 4: Spray another thinner through the airbrush after backflushing it.
Pro Tip: If the above process seems too rigorous, try disassembling the airbrush before cleaning. For this process, you only need to clean parts that come in contact with the sprayed material, which are the nozzle and needle. Use an ultrasonic cleaner or denture cleaner to clean the nozzle. Soft rags soaked in water will easily clean the needle.
After this, you only need to reassemble the airbrush, and your model is ready.
How to prepare the parts you’re about to paint.
You need to consider two things before painting your scale model kit, sanding and cleaning parts.
- Sand surfaces: Use high grit sandpaper to sand the model’s surface. Sanding the model’s surface adds a little more texture so that the paint will adhere. It is particularly essential when using acrylic paints as they are harder to cling to smooth surfaces.
- Clean each part: Use a rag or paper soaked in warm water to clean every sanded part before applying paint. Once you finish sanding, grimes and small particles will cling to the components, and this can reduce the finished quality of your paint job.
- Now, you can begin painting knowing you have a clean surface to work with.
How to use an airbrush?
To use an airbrush, you need to first understand how they are styled or designed. Airbrushes have a pencil and trigger pull design.
The pencil-style airbrush design lets you hold the airbrush like a pencil or pen. The pencil-style airbrush has a pencil-shaped handle, with a push-button on top you can trigger with your index finger. On the other hand, the trigger-pull airbrushes have a pistol design, with a trigger like that on a pistol.
So, how do you use the airbrush for your single-action and double action airbrush?
- Using a single-action airbrush
If you are using a pencil-style single-action airbrush, simply push down the trigger in a single direction to control airflow. To add paint to your spray, all you need to do is activate the airbrush air flow, and paint is mixed with air passively.
- Using a double-action airbrush
When using the trigger-pull airbrush in a double-action airbrush, the trigger helps you control air and paint.
- To activate air, press the trigger down.
- To paint, pull back on the trigger lever.
- Release trigger forward to stop paint flow
- Completely release trigger to stop airflow
For the pencil style double action airbrush,
- Push down to start the flow and control the volume of air,
- Pull the same button backward to start and control the flow of paint being expelled.
Pro tip: Always press down the trigger to adjust air pressure before pulling. Also triggering air first helps you clean out debris in the airbrush. The wrong technique could cause clogs in your double-action airbrush. To prevent this, release the trigger while leaving the air on. This stops paints from building up in the needle.
How to hold the airbrush
You already know you can get a pencil-style airbrush or a trigger-style airbrush, but how do you hold it? Thankfully, the process isn’t too tricky.
General tip:
- Put the airbrush in your chosen hand
- Let your index finger rest gently on the button or trigger. How you position your finger depends on the brush type you use.
- Wrap the air hose around your wrist to prevent the brush from falling from your hand when you begin.
Holding a single-action airbrush
- Step 1: Place the second joint of your index finger on the trigger
- Step 2: rotate your fingertip to control the air and paint supply.
How to hold a dual-action airbrush
- Step 1: Place the first joint of your index finger on the trigger
- Step 2: Press and pull back at once to control the air and paint supply.
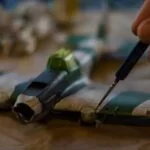
From what distance to airbrush
Using an airbrush from 8 inches away through a .2mm needle at 15 psi will yield a mess. Likewise, spraying with a .5mm needle from 1″ away at 25 PSI will be another disaster.
Whether you apply the paint in light coats or not, it’s best to use 15-20 PSI and hold the airbrush 4-7 inches (10-18 cm) from your model surface. Distances further than this will cause the paint to dry quickly. If you’re too close it will run.
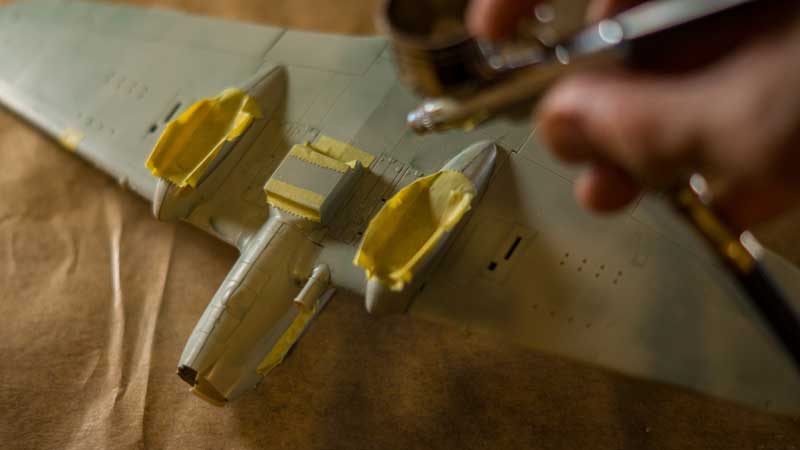
How do you overlap
Overlapping is a process that ensures proper coverage and prevents stripes when painting with the airbrush. Here’s how to overlap with an airbrush.
- Set the air pressure
- Know the spray pattern that works best for you. For example, edges to middle or center to edges.
- Start overlapping by spraying on each panel’s edge. For instance, half of the spray pattern on the panel and half spraying onto the masking paper. This assures you of proper overlapping and coverage on the edges.
How thick should the layer be?
With a single-action airbrush, you put down thinner layers by using the needle adjustment to limit the airflow and the paint flow. With a double-action brush, you limit the paint flow independently from the airflow, by how far you pull the trigger.
Regardless, paint layering when airbrushing should have a relative thickness between 35 to 60 Centipoise. This thickness is ideal for an airbrush with a .2mm or .18mm nozzle size.
Should you do double layering?
Layering helps you gradually build light to dark shades to achieve the desired result. Too thick and it will cause a mess on your scale model kit and leave a poor finish.
So, if you’re wondering whether you should do double layering, the answer is yes. Double layering helps you add a coat without disturbing or lifting a previous one, even if it has not yet fully cured.
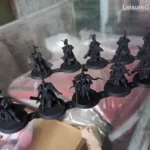
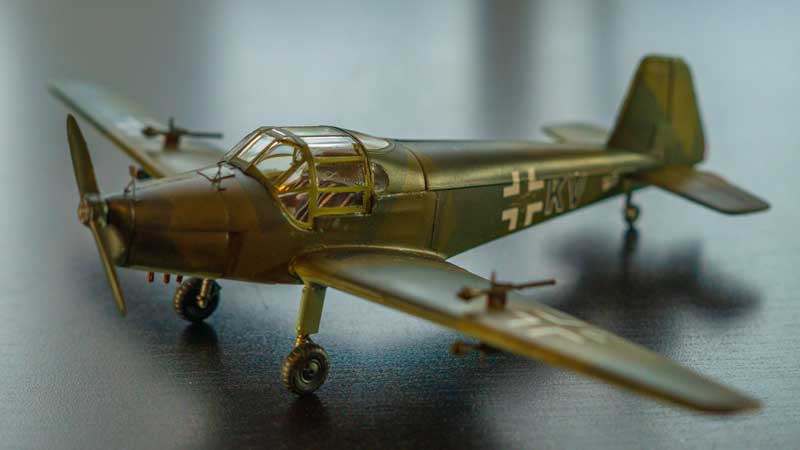
Should you airbrush before assembly?
Airbrushing before assembly will ensure that the coat gets into the trickiest and hard-to-reach parts of your scale model. If you are happy with your finish, you can begin assembling your model.
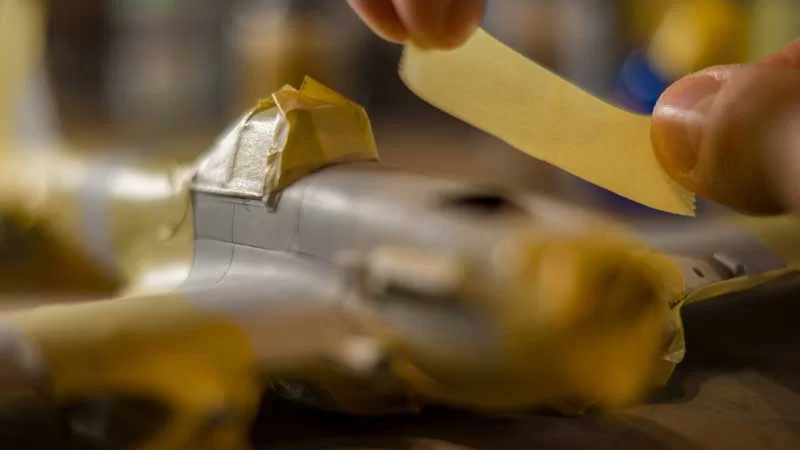
Should you airbrush the inner sides of the part?
Whether you airbrush the inner parts of your scale model depends on you. Regardless of this, you need to consider airbrushing the inner sides.
Many modelers may choose not to airbrush the inner sides. But, the fact is that your model might have certain hard-to-reach areas where even the brush cannot penetrate. With an airbrush, you can easily coat these parts to get fine results since the paints reach all parts of your model.
How to fix a mistake while airbrushing
If you made any mistakes while painting, here’s how to troubleshoot your mistakes.
General Tip:
- Lightly sand the paint blemishes with wet sandpaper mixed with water.
- Brush away any dust
- Start the airbrush process again.
Tips for troubleshooting airbrush mistakes for wet and oil paints
- Step 1: Use a sandpaper or painting knife to scrape off as much paint as possible
- Step 2: Wipe the scraped paint with a soft cloth. Ensure the clothe does not drag across other wet areas of the painting.
- Step 3: Pour some oil on a clean cloth to wipe away excesses on the oil paints. For acrylics, use slightly damp clothes to clean excess paint, so that you do not have liquid running down your painting.
- Step 4: Allow the area to dry completely. This may take two to three days for oil paints.
- Step 5: Add two layers of titanium white when dry. Let them dry and begin the airbrushing technique again.
Troubleshooting airbrushing mistakes for oil paints
This method is often called “tonking.” It is often used to add texture to thick paints, but works to remove painting mistakes as well.
- Step 1: Tear a paper that covers the mistake area.
- Step 2: Put it on the wet paint and press with your hands.
- Step 3: Gently pull away from the paper.
- Step 4: Continue this process with clean paper until paint no longer appears on the paper.
- Step 5: Use a soft cloth soaked in linseed oil to clean off excess paint.
Troubleshooting airbrushing mistakes if the paint is dry
This method often works for but can also be used on dried oil paints.
- Step 1: Use sandpaper to sand down the area you wish to paint over. Ifs you run into any wet paint in the bottom layers, use a palette knife to remove the wet paint.
- Step 2: Continue sanding until you reach the surface.
- Step 3: Use a damp cloth to remove excess paint and dust.
- Step 4: Allow the area to dry completely before rubbing two layers of titanium white coat. Let it dry.
- Step 5: After the titanium white dries off, continue painting.
How to clean your airbrush after painting
Tiny amounts of dry paint can affect the performance of your airbrush even after painting. For this reason, you need to clean it immediately after use.
Method 1
- Use a rag or tissue paper to wipe out the remaining paint
- Half-fill the airbrush with thinner.
- Shake and blow the thinner through your airbrush until there are no visible paint particles.
- Put a rag on the paint needle to force the air back into the reservoir,
- Make sure it bubbles backward so that it can reach all inner hard-to-reach parts
Method 2:
After using the airbrush,
- Disassemble the airbrush
- Soak the needle and head in thinner overnight. Do not stand the needle on its point because doing so might cause it to bend.
- Use a rag to clean the paints on the needle.
- Let it dry before reassembling.
Bonus: How to dry painted parts
You can dry your painted model kits in four easy steps:
- If you are in a warm but humid environment, turn on the AC unit to speed up the drying process.
- Place a heater near the painted part; the higher the temperature in the room, the faster the paint will dry.
- Run a dehumidifier to allow the paint to dry faster
- Use a fan
Final Thoughts
Airbrushing is never an easy process to master. Most beginners and returning airbrush users fail to practice and re-familiarize themselves with the airbrush before painting their model only to damage the project in seconds. To use an airbrush, you need to be competent and proficient in the airbrushing art.
You can choose to purchase airbrush-ready paints or those that do not require mixing or thinning out of the box, but it may not be enough to achieve the fine finish you desire.
Hopefully, this guide on scale model kit airbrush techniques will put you on the right track to paint your model better.
Sources (Besides My Own Knowledge)
https://www.iwata-airbrush.com/mm5/practice-exercises/NEO%20Kit%20Exercises_English.pdf?
https://finescale.com/~/media/files/pdf/marketing/airbrushing-acrylics.pdf
https://www.trains.com/wp-content/uploads/2020/10/basics_of_airbrushing.pdf