Miniature Rust and Corrosion Painting (How To Paint Rust)
Have you ever tried to paint rust, but it looks like badly painted camouflage?
An easy way most painters achieve this effect is by laying down some irregular spots of brown and then dry brushing orange over it with some edges entirely brown. However, painting rust and corrosion effect is much more than this.
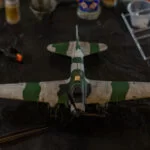
Whether you need to create rust on your Age of Sigmar Soulblight Gravelords or Warhammer 40K Death Guard models, this guide will teach you everything you need to know about painting rust and corrosion effects on your miniatures.
Painting Miniature Rust and Corrosion Effects
Painting rust and corrosion effect is a messy business since you have to deal with colors with high pigment. A little splash of brown can mess up other painted parts of the model and even dirty your work table.
Nevertheless, when painting rust and corrosion on your miniatures, the first thing you need to know is there are different types of rust, and they all have diverse intensity levels.
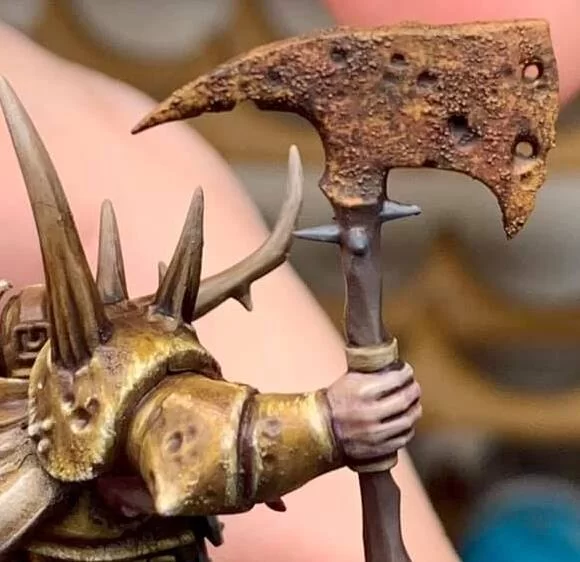
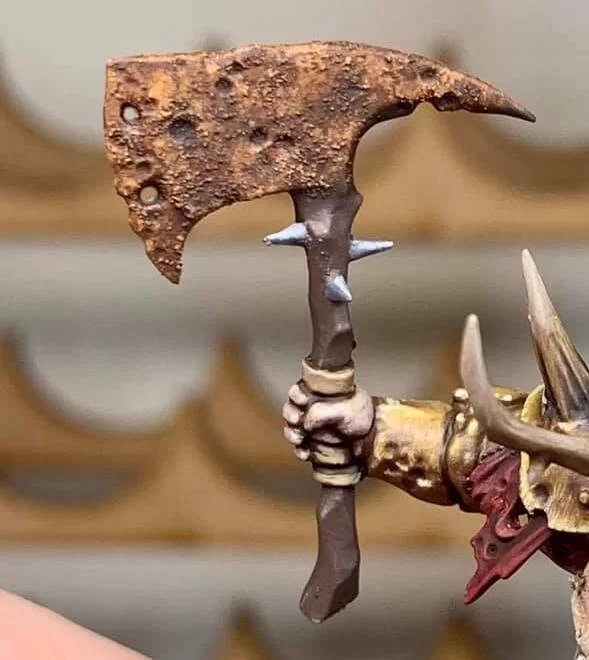
On miniatures exposed to moisture, your rust effect should look flaky, with the intensity varying from deep brown to bright orange. Chemical rust is another type of corrosion effect to show that the model was exposed to chlorine. The miniature model can also have a dark rusty appearance. What this means is that the mini’s surface hasn’t flaked but looks dusty brown with slight patches of orange.
Once you know this, the next thing to consider is which rust texture you want on your model.
Rust textures give your models an interesting angle.
You may choose to create circular yet irregular patches on different parts of the model or use more subtle splashes that look like mud. Most mini-painters prefer the subtle effects created when they apply rust as splashes, while others favor the exaggerated look of heavy rust.
If you choose a heavy corrosion effect, apply it sparingly as you may accidentally cover part of the details on your modern you lay a thick layer of rust texture.
The Easy Way to Paint Rust and Corrosion on miniatures
Most painters use Dirt Down’s rust paint to create rust on their miniatures, but for this illustration, our main colors are Citadel’s Mournfang Brown and Typhus Corrosion for a more subtle rust and corrosion effect. Here, we only add Dirty Down’s Rust Water Soluble paint as highlight paint.
Note: If you want quite an extreme rust texture, use Agrellan Earth or Agrellan Badland.
- Step 1 – Prime the Model
Before painting the rust and corrosion effect on your model, start by priming it to help the paint adhere well. For our purpose, we use Vallejo’s surface primer.
- Step 2 – Shake the Paint
Paints designed for rust effects are quite pigmented. So, shake your paint well for some minutes to help the settled pigmented mix appropriately before applying it to the model.
- Step 3 – Create a Worn Metal Look
Once the paint is ready for use, apply Citadel’s technical paint, Typhus Corrosion, on areas you want to create corrosion effects.
Often, mini painters use the Dirty Down rust paint for this step. While it works exceptionally, the difference between Typhus Corrosion and Dirty Down Rust is the former helps you achieve a rust-like weathered look instantly, while the latter requires multiple textures to make it look like rust.
Dirty Down Rust paints pools unevenly, making them come out with different colors and effects. So, you need to add more paint to enhance its rusty appearance. Before moving to the next step. Typhus Corrosion does not require this process.
- Step 4 – Apply the Mournfang Brown
Citadel’s Mournfang brown color has a reddish-brown appearance. When used over the Typhus corrosion paint, it blends seamlessly to create a nice rust effect with ease.
- Step 5 – It’s Time to Apply the Dirty-Down Rust Paint
For this step, this paint serves as a highlight for your corrosion effect. Just make sure to use it only over areas you wish to enhance the rusty look.
- Step 6 – Add Interest with Water (Optional)
If you want to add more visual interest to the rust texture, gently deep the bristles of your paintbrush in water and flick it on the model. This leaves you with small, bright rust spots all over the surface of the mini.
- Step 7: Drybrush Dark Metallic Paint
Using slight circular motions, apply Darkstar Steel color over the whole model with your drybrush technique to enhance the rust texture.
Painting Rust and Corrosion the Advanced Way with Stippling Technique
When stippling corrosion effect on your model, consider steps 1 to 3 discussed above. Then, make two layers of stippled rust thereafter.
With the Dark Vallejo rust color, do a 1 part water to 2 parts paint mixture and stipple this solution into the largest areas where you want to create rust. Don’t forget to stipple the recesses.
After this, do a 1 part water, 1 part paint mixture with Vallejo’s light rust. Then, stipple them continuously (3 to four layers) to create the illusion of depth. But, avoid the edges when adding light rust to ensure well-balanced color contrast.
The next step is to drybrush light metallic paint on the rust-painted surface to help you create scratch lines on the rust. For this step, target more of the edges and focus less on the recessed areas.
Finally, stipple a wash paint over the recesses to create rust streaks. I often use the Vallejo rust wash for this purpose.

Tips for Painting Rust and Corrosion Effects on Minis
Painting rust and corrosion effects on miniatures is easy and straightforward.
While several people use different methods to create rust on their miniatures, the secret to getting that perfect rust or corrosion texture is to water down paints and shake them well before use.
Rust paints are highly pigmented. It will be easier to add more layers of brown to transition from subtle to more extreme corrosion. However, a thick coat can leave your work messy.
Besides this, here are some other hacks to make your process easier.
- Use a brush you don’t care about because creating a rust effect, especially if you want to stipple rust, can wreck your paintbrush.
- When painting rust, try to make the blotches as random as possible for a more realistic appearance since natural rust does not appear in a straight line.
- In miniature painting, anytime you do chipping, weathering, rust, or corrosion effect, layering is key. Avoiding dropping color over the surface. It appears unnatural.
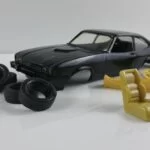
- If you want to weather or apply heavy rust on a white miniature vehicle, start with dark brown paint to sketch out the rust areas. Then, apply light dark red paint over it. Do 1 or two layers of orange in random light spots and use Vallejo Oxide wash over them all to mute the colors.
- Are you using oil paints to achieve corrosion textures? Always wait at least a few days between layers. Then, spray varnish on before adding more paint.
Conclusion
Making rust and corrosion effects look natural on your models is tricky because you have to consider where you want the wear and tear to appear most. Just remember that when painting rust, you don’t want the model to have too many scratches in their recess or on spots when they should not appear. They make the corrosion effect look unrealistic.