40k Dark Angels Color Scheme (the best 40k Color scheme)
Painting Warhammer models can be an exciting and rewarding experience for miniature painters. If you have an unpainted Dark Angels model in storage, then you should consider painting it as your next project.
Dark Angels are one of the most popular factions in the Warhammer 40,000 universe. In this guide, we explain everything you need to know about their color schemes and how to paint them.
A Brief Look into the Lore of the Warhammer 40K Dark Angels
The Dark Angels are a Space Marine chapter with a rich history and lore in the Warhammer 40,000 universe.
They were founded on the planet Caliban during the First Founding, the earliest period in the history of the Space Marines, and are known for their secretive nature and obsession with the hunt for the Fallen, former Dark Angels who betrayed the chapter and turned to Chaos.
The Dark Angels also have a unique ranking system, with each rank denoted by a different color within the chapter’s color scheme. For example, the chapter’s Veterans wear bone-colored armor, while the chapter’s Masters wear bone-colored armor with black trim. This system of color-coded ranks further reinforces the chapter’s obsession with order and hierarchy.
Color Schemes of the Dark Angels Space Marine Chapter in Warhammer 40K
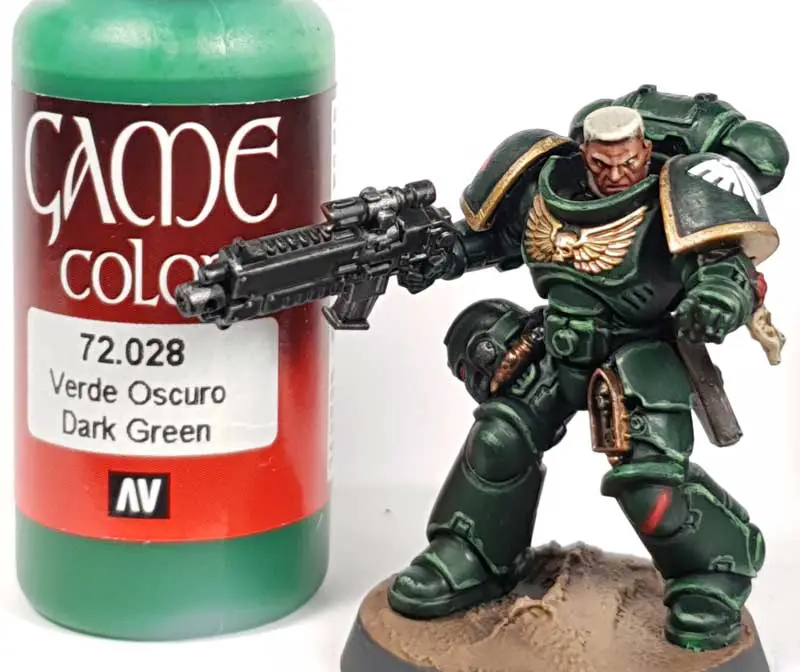
The official color scheme of Warhammer 40K Dark Angels is predominantly black with green accents.
However, since they operate by ranks, from the Deathwing to the Ravenwing and Greenwing, their color schemes will differ.
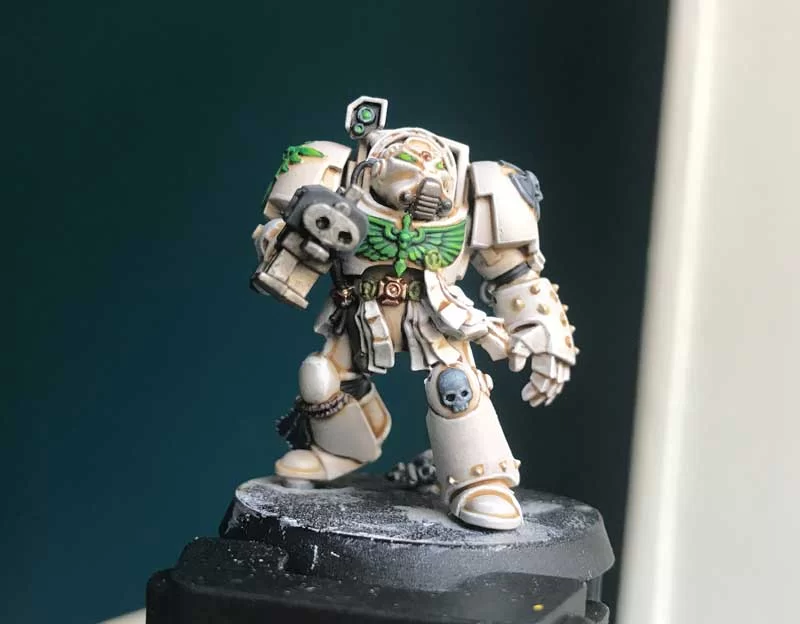
- Deathwing Color Scheme
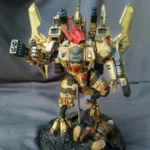
The Deathwing is the Dark Angels’ first company and are known as the Terminators. The Deathwing’s color scheme is predominantly bone-white, with black and silver accents. This color scheme represents the Deathwing’s role as the chapter’s elite and most heavily-armored warriors.
The Ravenwings is the Dark Angels’ second company and are known as the bike-mounted Marines. Their color scheme is predominantly black, with bone-white accents, which evokes the image of a raven’s wings.

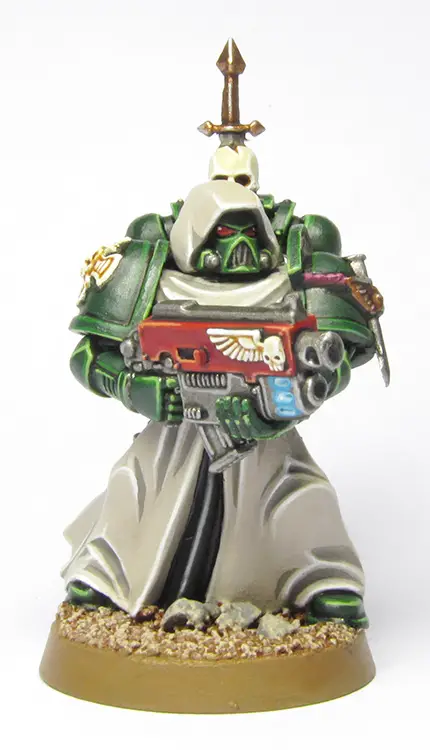
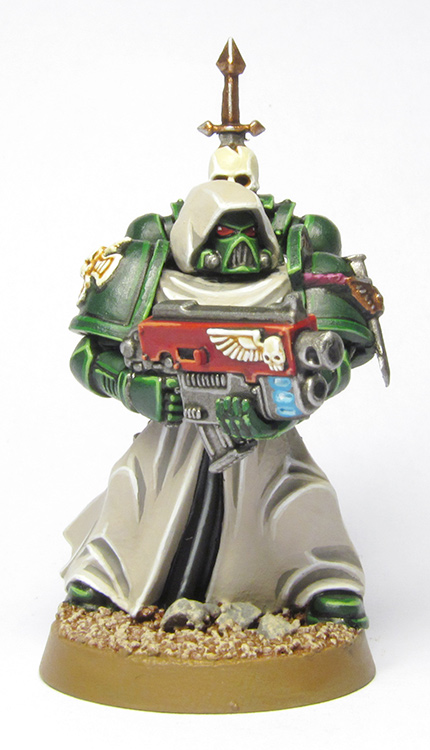
- Greenwing Color Scheme
The Greenwings are the Dark Angels’ standard company and are the regular Marines. The Greenwing’s color scheme is similar to the standard Dark Angels color scheme, with a black base color and green accents. However, the Greenwing also utilizes a white helmet and shoulder pads to distinguish its Marines from other companies.
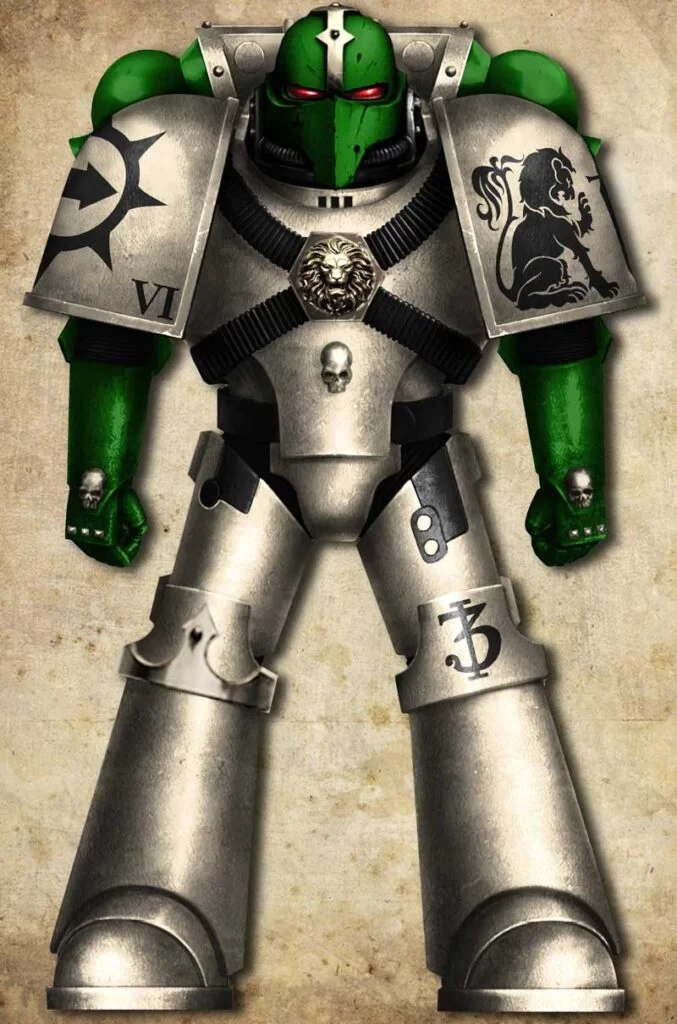
- Lion’s Blade
The Lion’s Blade color scheme is a more recent addition to the Dark Angels’ color schemes, introduced in the 8th edition of Warhammer 40,000. This color scheme features green armor with black and bone-colored accents and evokes the image of the chapter’s Primarch, Lion El’Jonson.
Regardless of these color schemes, the best part of painting Warhammer 40K miniatures is that you can easily switch up the colors to create something uniquely different.
What this means is that if the color looks “good enough” or “appeals to you,” then use it on your model. No one expects you to recreate the same scheme on the box art. In fact, many miniature painters are eager to see something different than the traditional color.
How to Paint 40k Dark Angels (Official Color Scheme)
- Step 1: Prepare the Model
Before you start painting, you need to prepare your model properly. This includes removing mold lines, cleaning the model with warm soapy water, and priming it with a suitable primer. To recreate the official paint scheme of 40K Dark Angels, use a black or dark grey primer.
- Step 2: Basecoat
Next, apply a basecoat using Caliban Green. Make sure to do two thin coats, allowing each coat to dry completely before applying the next.
- Step 3: Layering
Once the basecoat is dry, it’s time to start layering. Use Warpstone Glow, Nurgling Green, and Moot Green thinly to help you create a more dynamic and visually-interesting paint job.
- Step 4: Highlighting
After layering, it’s time to add highlights. To highlight your Dark Angels model, use Ogryn Camo or a mix of Ogryn Camo and Moot Green to help you bring out the details.
- Step 5: Adding Details
Once the highlights are complete, it’s time to add the final details. For this step, use Abaddon Black for small details and Leadbelcher for metallic parts.
Tips and Tricks for Painting this faction
- Paint to battle ready first method
If you’ve ever painted battle-ready miniatures, you know they often lack details, unlike parade-ready painted minis. So, when painting your first dark angel model, paint the whole army battle-ready first to avoid stress. Then go back and paint small details. If you try to do everything to be parade-ready on the first try, you may become overwhelmed and burn out fast.
- Choose Your Effects before Painting the Model
Figure out if you want to weather your guys or do a cleaner traditional paint job. If you are doing a lot of weathering, tone down the edge highlights or even volumetric highlights.
- Paint the Models in Batches
Try painting models in batches of five or ten, finish one stage on the first model, then move to the next while the paint dries. This step promises less downtime and less time to fixate on tiny mistakes, and models look way better when put together into similarly painted units.
You can always strip and repaint them later if you don’t like the result, but being methodical will help you improve faster as a painter and get you something that looks good on the table.
- Don’t Fret Over Perfection
Not every model has to be a masterpiece. For your Dark angel armies, do one highlight and only highlight what you can easily see. The more you practice similar style models, the better you will get.
Conclusion
Painting your 40K Dark Angels models can be a fun and rewarding experience, whether you use the official paint scheme or an alternative color palate. Still, the most important thing to keep in mind when painting your 40K Dark Angels is to play safe with details, especially if it is your first time painting one. Be patient with yourself and enjoy it. Painting miniatures is an effective non-stationary meditation, and mistakes are easier to fix than you think.

