metal miniatures painting guide (How To Paint Pewter Minis)
70% of miniatures enthusiasts have close to hundreds of plastic miniatures in their collection and have had experience painting them. However, only a few have ever assembled or painted a metal miniature kit.
If you’re one of these few but want to jump ships, you’re probably wondering where to start.
Painting is often individualistic, and while everyone has their individual style, we’ll focus more on general metal miniature painting techniques to make your painting task easy.
tools you need to paint metal miniatures
Every scale building kit has something in common – a supplies toolkit and painting gears.
If you’re thinking of painting your metal miniatures, here’s a quick list of painting essentials you’ll need:
- Good lighting
- Paint brushes
- Paints
- Palette
- Primer
- Fine file or sandpaper
- Hobby knife
- Cleaning solution (rubbing alcohol or soap and water mixture)
- Toothbrush
- Bowl
- Sealer
paint you Should use for metal miniatures
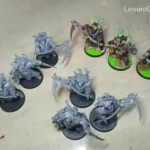
If you want to paint metal infantry for miniature games or other miniature kits, acrylic and enamel paints are the two most common paints used by painters.
If you want to paint your metal figures in a safe environment, use acrylic paints but if you require a more durable and long-lasting finish, use enamels.
Enamels provide a durable surface, so the paint lasts longer and doesn’t chip easily. Acrylics are the easiest and safest way to paint metal figures. It also offers a durable finish but is not as solid as enamel.
A step-by-step guide – How to paint metal miniatures
For many experienced painters, painting their metal miniatures is a piece of cake. If you’re an entry-level painter, here is a good way to paint your metal figures.
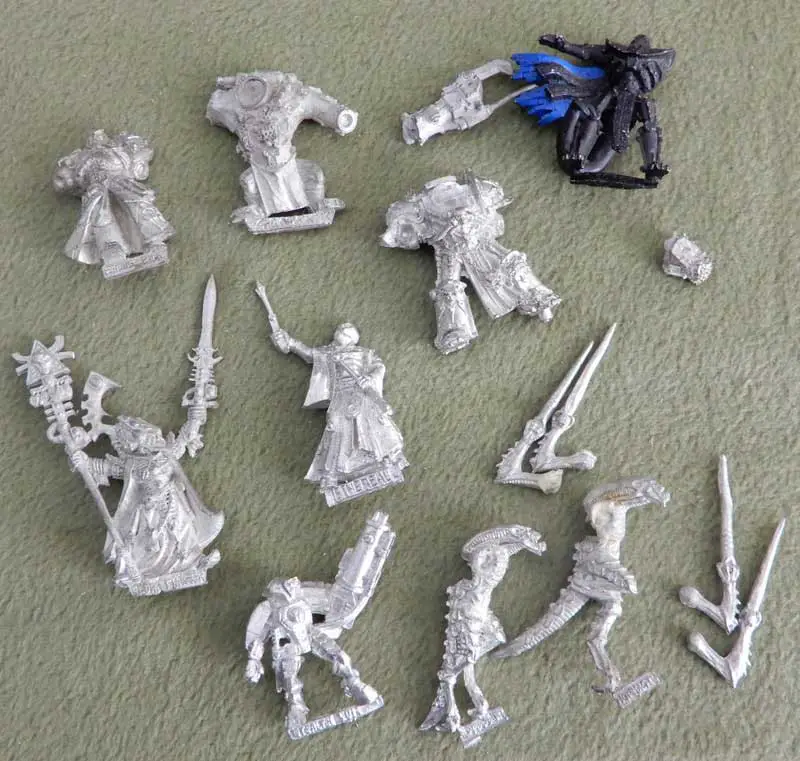
Step 1: Start by getting it out of the box.
Before painting your minis, you will need to get them out of the box. So, remove every piece of your metal miniature figure in the box and place them in a safe place where they won’t lose easily.
Step 2: Remove excess metal
You’ll always find excess base casts on your metal miniatures, no matter how well-made they are. Using your hobby knife, file, or fine-grit sandpaper, sand every irregularity on the kit.
Take care while doing this to avoid filing off small details. If this happens, get a metal-filling epoxy and patch imperfections.
Step 3: Clean the model
Once you’re done trimming off the excess metal, clean the kit with your cleaning solvent or in a bowl of soap and water mixture. It gets rid of the oily mold release on the kit directly from the manufacturer so that the primer can adhere well to your metal figures. Then, allow to dry.
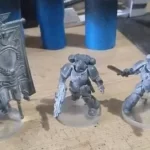
Step 4: Apply primer
You’ll need to prime the metal figure if you intend to use acrylic paints so the paint can stick well.
Priming before painting is one of the most important parts to get a good looking paint job and to ensure the paint doesn’t peel off your mini.
With your brush, apply a primer in two thin coats. don’t miss any part on your miniature, and don’t forget even the most further parts like armpits, textured surfaces, etc.
Be sure to use a primer color that matches the paint scheme so paint covers and blends well. Then, let it dry.
Step 5: Apply base paint
Using small-sized paint brushes, apply three to five thin coats of paint to build the color.
Avoid painting in thick coats. It distorts small details.
Also, leave the paint to dry after each coat, so the paint doesn’t smudge and leaves brush strokes.
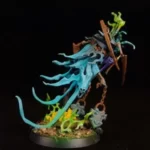
Step 6: Add highlights
From the teeth to the eyes, creases in armor and costume, apply details with paint to make the figure look realistic. Use the dry brushing technique to add more depth to the details.
To do this, dip the brush in light colors, blot it on a soft paper or towel to remove excess paint, and run the almost emptied paint brush lightly over the figure to make the details pop.
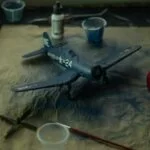
Step 7: Apply varnish
Apply an overcoat to protect the painted figure. Depending on your preference, choose from either a matte or gloss overcoat.
Conclusion
If you build metal miniatures, then at some point you will want to paint them. The good news is that painting metal miniatures are easy, no matter your skill level.
Whether you like wargaming miniatures like Warhammer, 40K, DnD minis, dioramas, or historical figures, with this guide on how to paint metal miniatures, getting the process right will be a breeze.