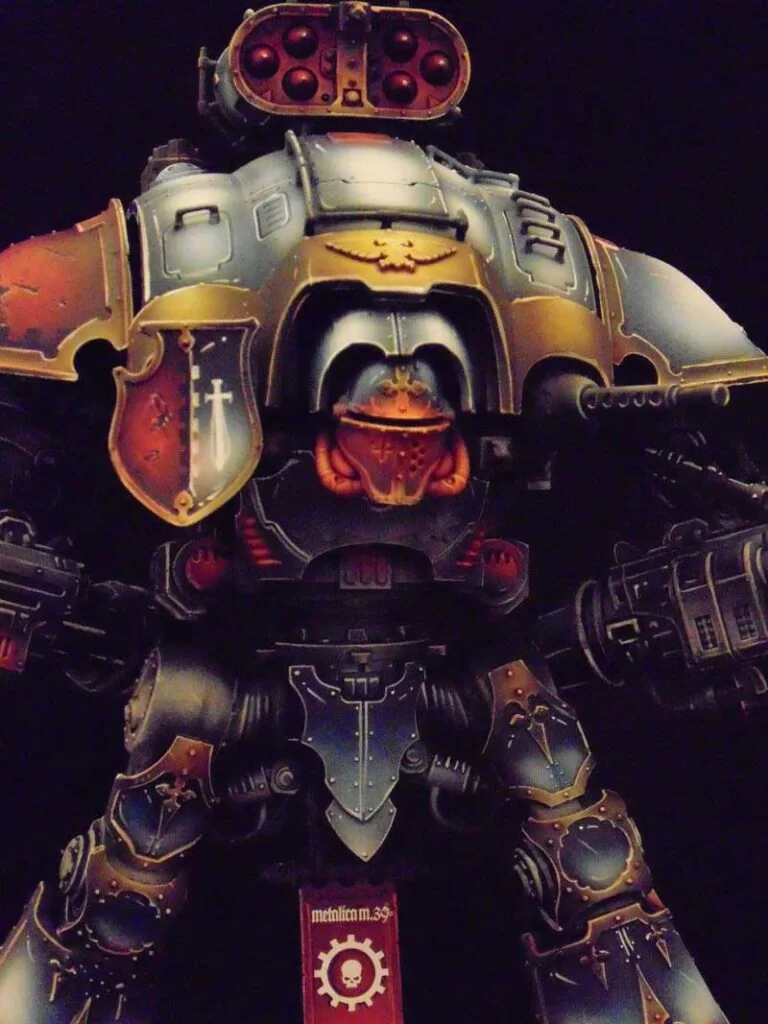
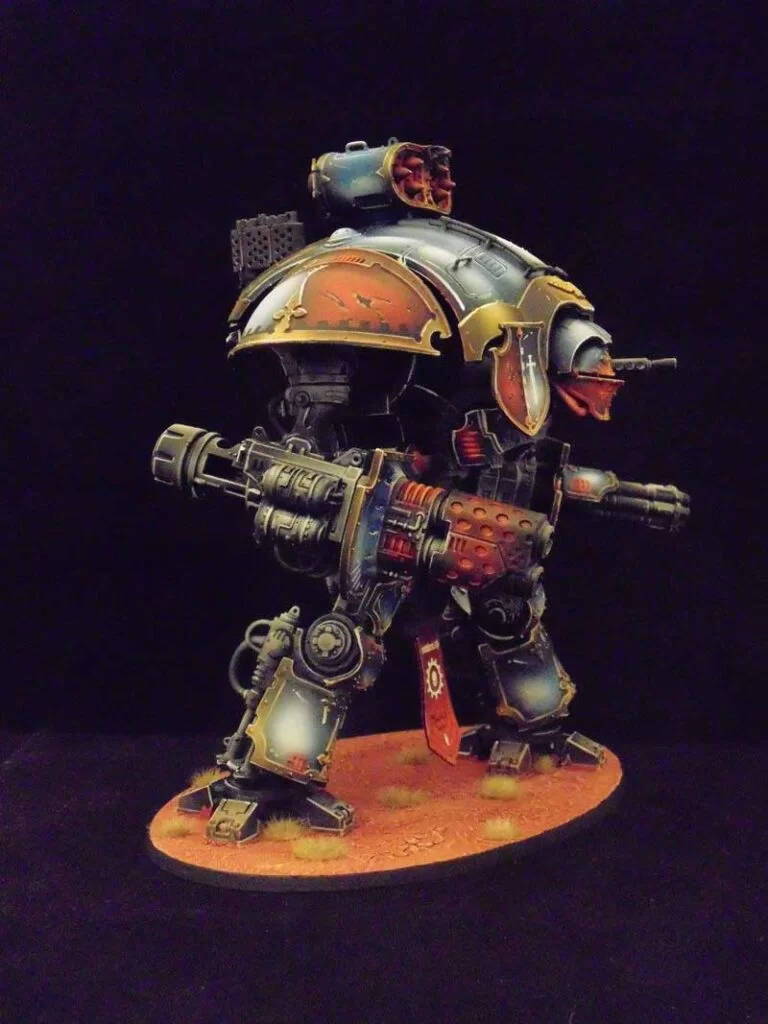
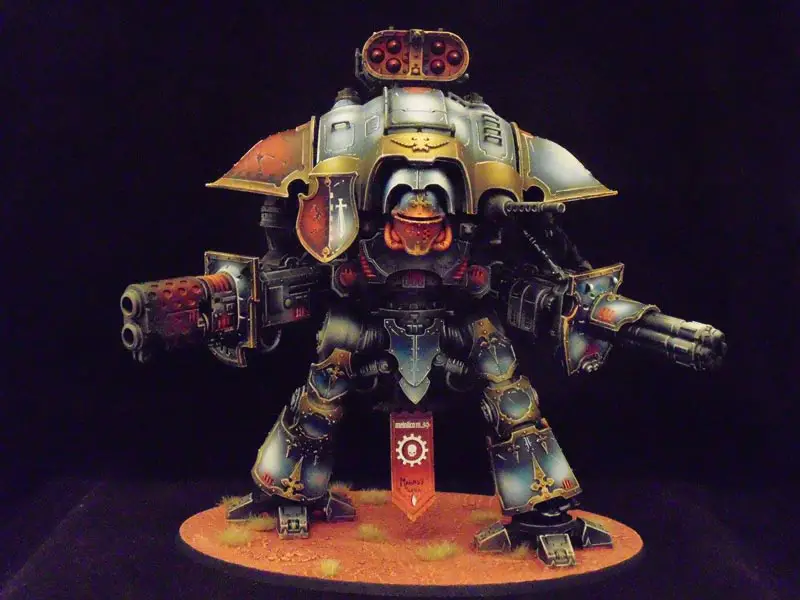
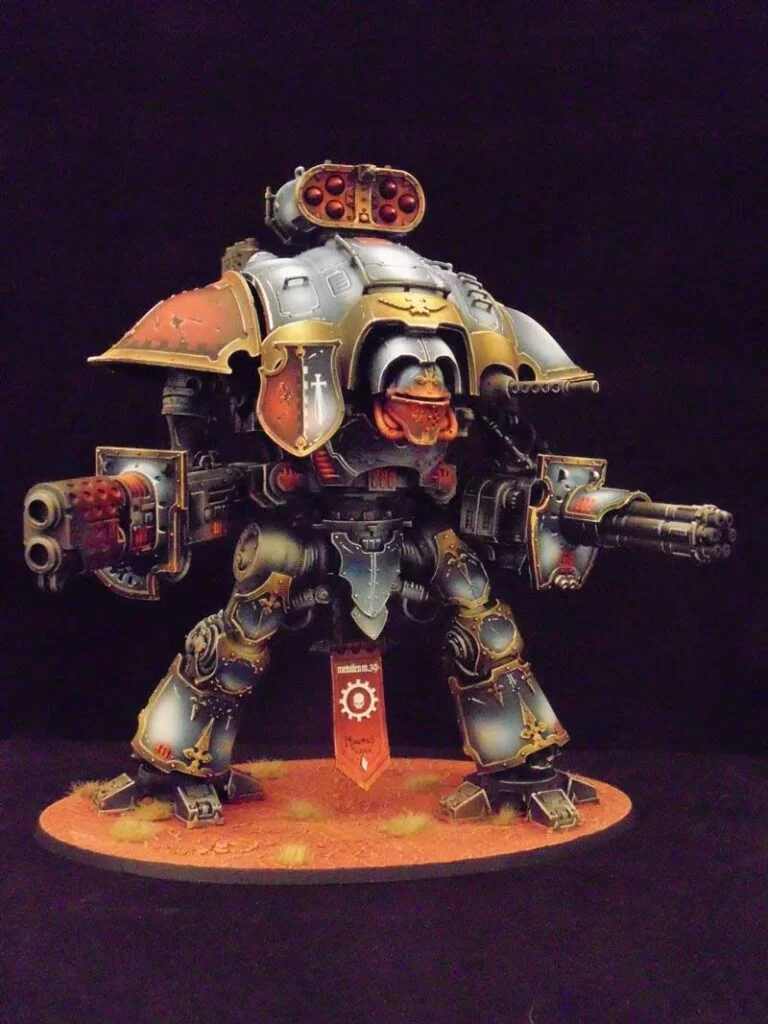
How to Paint Non-Metallic Metals on Miniatures (NMM)

Metallic paints have a reputation for being difficult to control even with their realistic appearance, but non-metallic metals are the opposite. With non-metallic metal, you get perfect control over the highlights, which helps you create a fantastic-looking model.
In this guide, we discuss non-metallic metal paints and how best to use them to get the right results on your miniature model.
Painting Non-Metallic Metals on Miniatures
Non-metallic metals aren’t typically pure metal paints. Of course, they help you paint metallic areas on the miniature, but they don’t have the mica pigments found in true metallic metals.
One of the many things mini painters associate with non-metallic metals is real contrast and lighting control, something that feels a little lacking when painting true metallic metals on miniatures.
Most miniature painters, especially entry-level painters, find it difficult to control the reflectiveness of true metallic metals on their miniature models. However, painting non-metallic metals take away this challenge. So, what do we mean by this?
NMM paint and reflectiveness
Metal surfaces are highly reflective, and getting the perfect highlight to define the angles where light reflects on can be challenging, even with true metallic metals. With non-metal metal, you don’t have to focus on creating this reflectiveness.
Instead, you create contrast by applying the brightest paint next to the darkest shade. This trick will make your metal miniatures look like they are bouncing from bright to very dark spots with little transition.
Non-metallic metals help you achieve a realistic result on metal areas, from controlling where the highlights go on the armor to the weapons. Simply put, with non-metallic metals, you can easily control the results as light bounces where you tell it to, and the shading appears where you place it. It’s no wonder why non-metallic metals have become popular.
Techniques for Painting Non-Metallic Metals on Miniatures: The Easy Way
So, how do you paint non-metallic metal on miniatures? Here, we give a simple run-down on how to paint gold NMM paints on your miniature models.
Note: for this example, we use Game’s Workshop paints.
- Basecoat 2 layers of Balor Brown
- Thin down the Zamesi Desert paint and add your first highlight colors
- Add another highlight with watered-down Ushabti Bone. Do 2 layers
- Apply shade to create dull shadows. For this step, use a thinned-down Doombull Brown
- Again use the Doombul Brown paint but with a 50/50 mix of black paint
- Apply another layer of highlight, mixing Ushabti bone and white paint to get a shiny reflective surface.
- Glaze the area with Lhamian medium and yellow ink mix
- Glaze the recess areas with a mixture of Lhamian medium and red ink
- Start to pick out the reflective surface with pure white paint
Advanced Techniques for Painting Non-Metallic Metals on Miniatures
Here, we take a step-by-step approach to explain how painting NMM paints on miniatures work.
What you need:
- Camera
- Wet palate
- Paint (Vallejo’s black, Dryad bark, XV-88, Pallid Wych Flesh, White ink, Citadel’s mournfang brown, and Yriel yellow).
The Process
- Step 1: Basecoat the min
Start by applying a basecoat color to the miniature to get an evenly covered and painted surface that helps you build up the contrast.
- Step 2: Take a picture of the Model
This step is quite beneficial as it helps you plan how to paint reflection on the model. So, get your camera and take a snapshot of the area with light coming from the direction you like to mimic to use as a reference. I typically place the light on metal figures from above the mini.
- Step 3: Add a Highlight
After taking a picture of the model, the next step is to start building up the light. Make sure to do three highlights before moving to the next stage.
For the first highlight, do a 5-/50 mix of Dryad Bark and Vallejo black. I also focus on creating a highlight on top of the skull from my model since I want the light reflection to come from above.
- Step 4: Add More Highlights
On the next highlight, I use only the Dryad bark. After this, I do a 50/50 mix of Dryad bark and Mournfang brown. With each highlight, I start from a large surface and narrow it down to a small soot where a pure white highlight will reflect light.
I continue to add a highlight by mixing these colors, which follow each other; Mournfang brown and XV-88, XV-88, and Yriel Yellow, and Yriel yellow and Pallid Wych flesh.
- Step 5: Add the Final Highlight
Once you’re done adding all the colors to the model, take white ink and focus on the hard or raised edges, apply the white ink on small spots where light should reflect.
Tips for Painting Non-Metallic Metals on Miniatures
- Use a Satin black Primer before Anything
If you’re trying to figure out where the light on the figure should go, always prime the model satin black. It comes in looking spotless but with some light streaks that help you study how the reflections behave so you know where to place your highlights and shadows and also learn more about primary and secondary reflections (also called bounce lights).
- Attaining 100% Realism can be Challenging, Don’t Stress over It
Reflective surfaces are often difficult to paint since they will reflect a lot of glare. Plus, you have to guess how it will bounce the light and try to paint this reflective effect. This light reflection makes achieving perfect realism a hassle.
- Focus More on Creating Contrast When Using NMM Paints
Since focusing on light reflection can be challenging, creating contrast can take stress off the equation. What contrast does is help you great darker and shiny parts to show where light reflects and doesn’t. With contrast, you might be able to fool the eyes into believing the finish looks realistic when you focus on creating contrast.
- To Create Contrast Consider the Angles
If you’re going to paint the entirety of a model, it means you have to paint the front, sides, and back. So, if you’re trying to create contrast, the best way to do this is to change the reflection of the color when you get to the side. If you’ve been painting extreme light on the front, once you get to the corner, focus on creating dark shadow effects to get a perfect contrast.
- Forego Perfect Blends
Another tip to consider when painting non-metallic metals is to discard the idea of flawless blending. The simple task of non-metallic paints is to trick the eye into believing light or darkness is where it should be. With NMM paints, these light and dark parts don’t need a perfect blend to look effortlessly good. Even painting them next to each either works on NMM paints.
Conclusion
The most frustrating part of painting metals on miniatures is that even if you do a good job, it doesn’t show completely. Most people will assume that what they are seeing is a result of the light, not your painting.
However, when using non-metallic metals on miniatures, one thing is certain – your miniature models will turn out cool. Of course, it requires more style and artistry. Still, your model looks better. So, if you want to paint a cool looking miniature with non-metallic metal, hopefully, this guide will make your project easier.