How to Paint Miniature Snow and Ice Effects
When you decide to paint your miniature models, choosing a suitable theme can be tasking, especially for your armies.
If you’ve chosen a winter theme for your miniature models but don’t know how or where to start painting, don’t worry, we’ve got you covered.
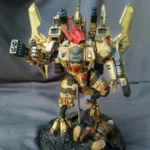
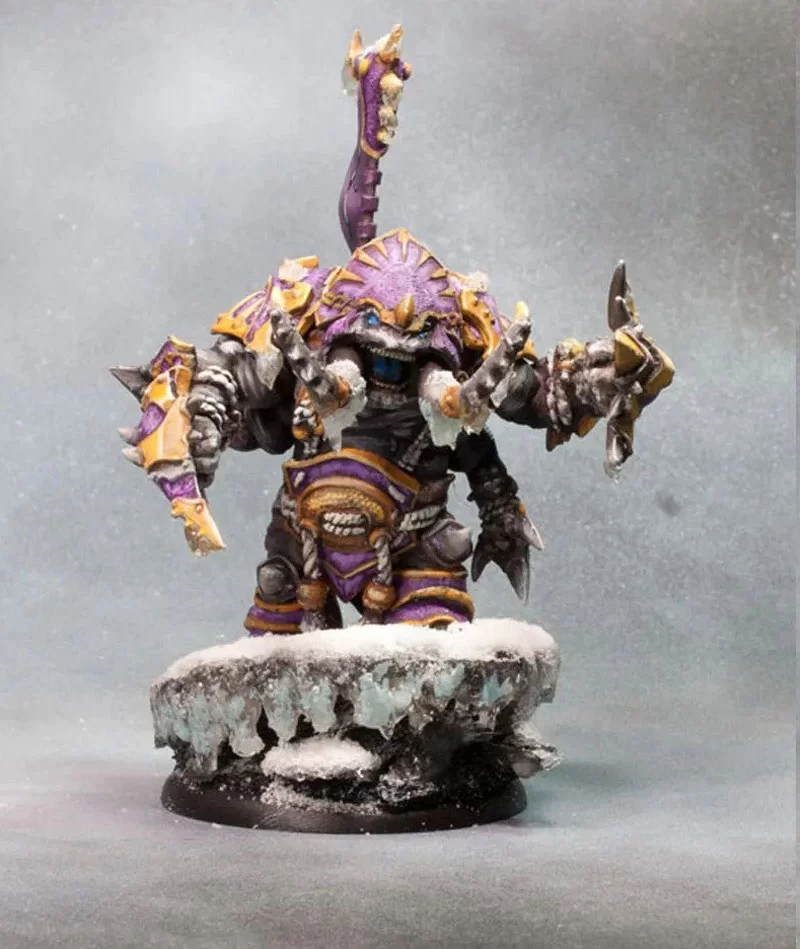
Whether you are painting your Warhammer 40k models from the Fenris to your mortal realms snow-filled Titan spear or want to make a simple ice base for your miniatures, in this guide, we explain how to make a cool winter-weather theme for your miniatures.
The Basics of Painting Miniature Snow and Ice Effects
Snow and ice winter effects can be as varied as real-life snow and ice. Sometimes, they may appear like fluffy crystal white sand, and other times seem like large clear crystal balls with irregular shapes and smooth or cracked surfaces.
On the other hand, every winter theme features some blizzard conditions. Some include rocky mountains or a stark environment with cold frosted layers. Most winter lands also feature elements such as dry grass, lighter foliage, or a desaturated grey-brown bark.
In short, when painting snow and ice effects, remember that the design you create tells a story. Imagine painting a snow lake with someone frozen in it. With a theme like this, creating fluffy snow won’t blend well with your model.
Step-By-Step Guide to Painting Miniature Snow and Ice
In this part of our guide, we focus on painting snow and ice on miniature bases.
- Step 1: Create the Ice Rocks
For this, we use Distress Clear Crackle Paint. Get a piece of foil and fold it up to make a bowl-like container out of it while ensuring there is no room for it to leak. Then pour the paint straight into it. Let it dry for two to three days.
When it sets, it cracks into pieces and looks like broken white crystals. The best part of this step is that they come out in different sizes. So, you can choose to use them individually or glue them together to make larger rock formations.
- Step 2: Basecoat the Base
Start with a white base coat (i.e., Citadel’s Coral White). Make sure to take the base before base coating so that the paint covers well.
- Step 3: Add Texture to the Base
To do this, use a reasonable amount of cheap wall filler or spackle onto the base. Smooth it out until you get a texture you are happy with. Then, clean the edges to smoothen and sharpen the edges.
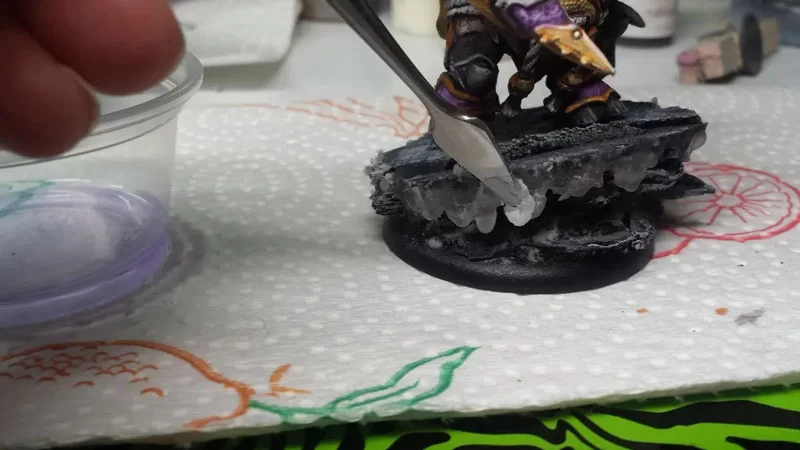
- Step 4: Add the Ice Rocks
With the wall filler still wet, take some ice rocks (mix the large and small rocks) and place them into the wet filler randomly. Make sure to press it in so that it sits well. Then, let it set.
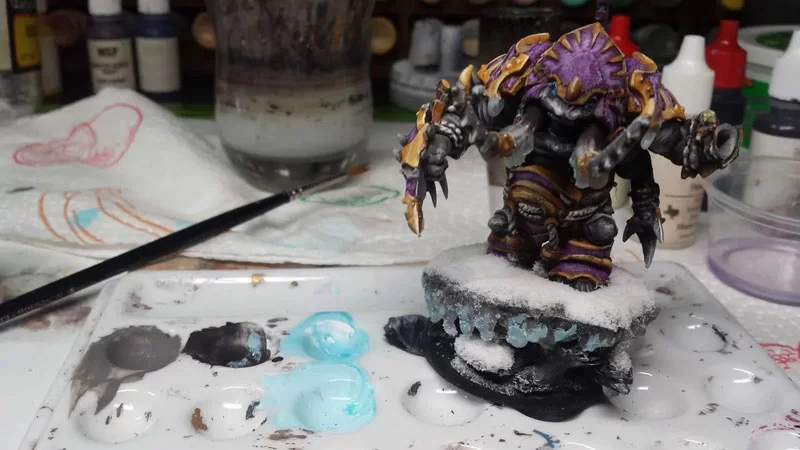
- Step 5: Tint the Ice Rocks
Get a paint color close to Citadel’s clear blue clear, give it a good shake, and thin it down with water with 1 part paint and 5 part water. Mix it up and paint it on the ice.
- Step 6: Dry Brush the Rocks
With the wash done, use Citadel’s White scar to dry brush the ice. Make sure to take off most of the paint, so there’s just a small amount on the brush, then flick it over the ice so the paint is catching over the edges. Do this continuously until
- Step 7: Make the Snow
Using scene snowflakes, mix them up with some PVA glue in a small pot. Make sure it forms a fluffy paste, then spread the snow mix to the base using a small stick. Don’t forget to push the snowflakes into the cracks of the ice.
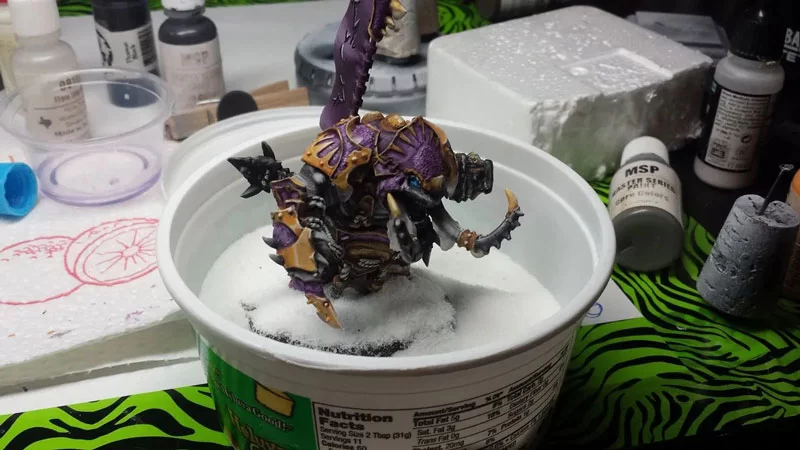
- Step 8: Add Dry Snow
Before it dries, take some dry snowflakes and sprinkle them all over the snow and ice-covered base. Tip off the excess and repeat this step a few more times to ensure it fully covers the surface of the snow.
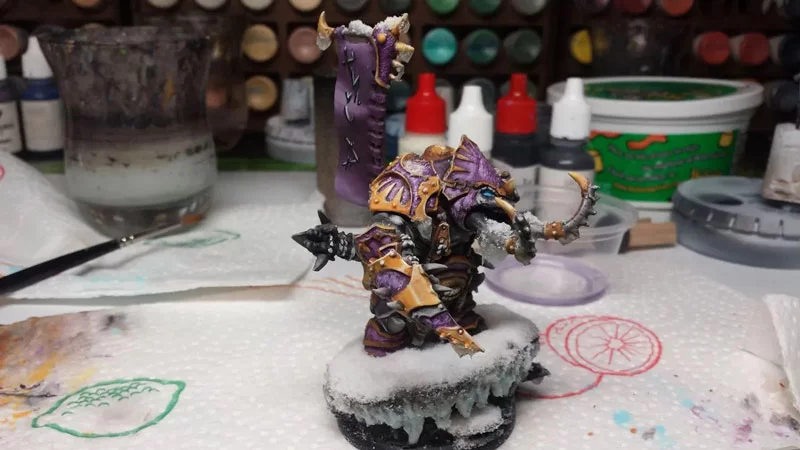
- Step 9: Do the Final Touches
With the paint fully dry, paint the rim of the base the color of your choice. Use Abaddon black from Citadel, and the base is complete.
Tips for Painting Miniature Snow and Ice Effects
- Get a Reference Picture
As mentioned earlier, snow takes different shapes. Most times, you may have a general idea of what you want to paint but replicating them can be challenging. A reference picture of the perfect snow for your winter or ice lake will help you bring to life the effects you want.
- Don’t Have a Pre-made Base? Make One
Most miniatures come with bases, but assuming you don’t have a pre-made one ready, make one suitable for your theme and miniature models.
- Make Room for Your Miniatures on the Base If You Choose Not to Glue Them First
Most mini painters glue their minis first in the model before painting it. If you choose to paint before fixing the model in it, I found that after painting snow and ice bases, it helps to press the feet of the model you’re making the base for into the modeling material before it dries. It will help you create a space or give you a slight imprint of where the feet will go once the base is finished.
- Protect Your Base and Model to Help Paint Cover Well
Also, when painting snow bases or small snowflakes on the body of your miniature, it helps to blu-tac it onto a paint pot or similar-sized object. Doing so provides you with something to hold onto while painting the snow and ice effects on the base or miniature models.
Conclusion
Painting ice and snow is arguably one of the most challenging scenic terrains you can make for your miniatures. Then again, with the right paint colors and techniques, painting ice and snow effects can be one of your fun miniature-painting journeys. Just follow these steps, and you’ll be on your way to making realistic ice and snow replicas on your minis.