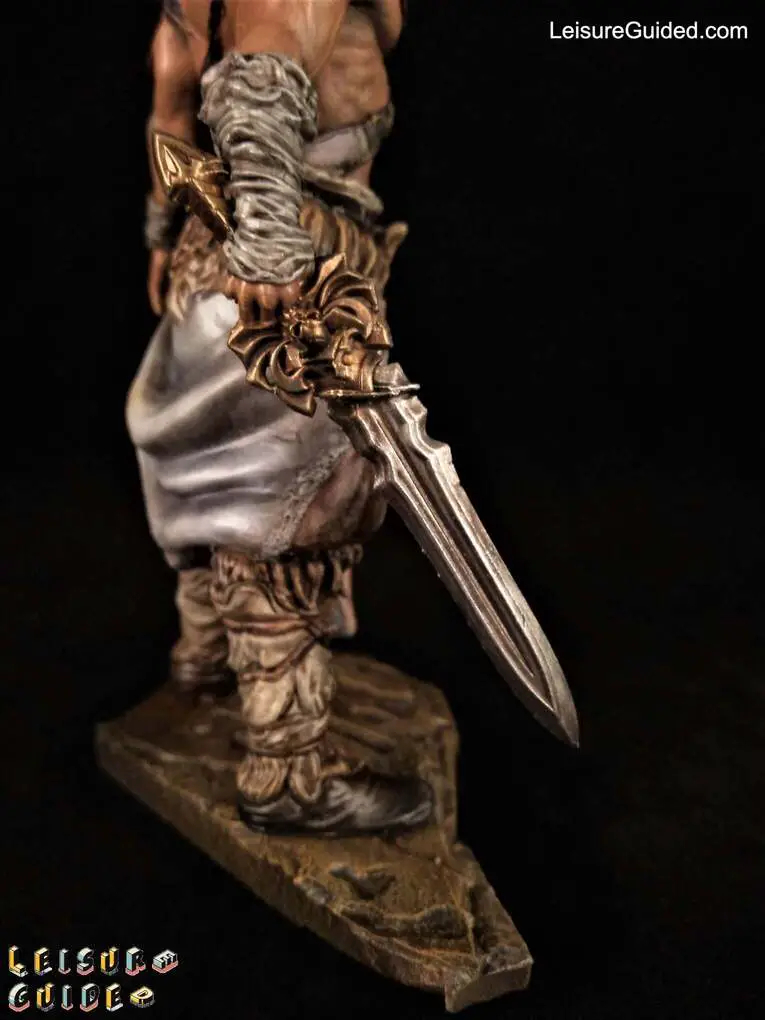
A Beginner’s Guide to Painting Miniature Cloth and Fabric

Clothes have intricate patterns that make painting them a hassle, from their textures to creating stitches, scratches, mud, and a weathered look.
If you’ve never had practice painting these pieces, where do you start?
In this guide, we will highlight some of the most important steps beginners need to consider when painting miniature clothes and fabrics.
Painting Miniature Cloth and Fabric
When painting clothes and fabrics, how you create texture and show light reflection matters a lot.
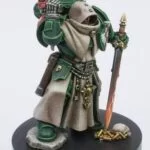
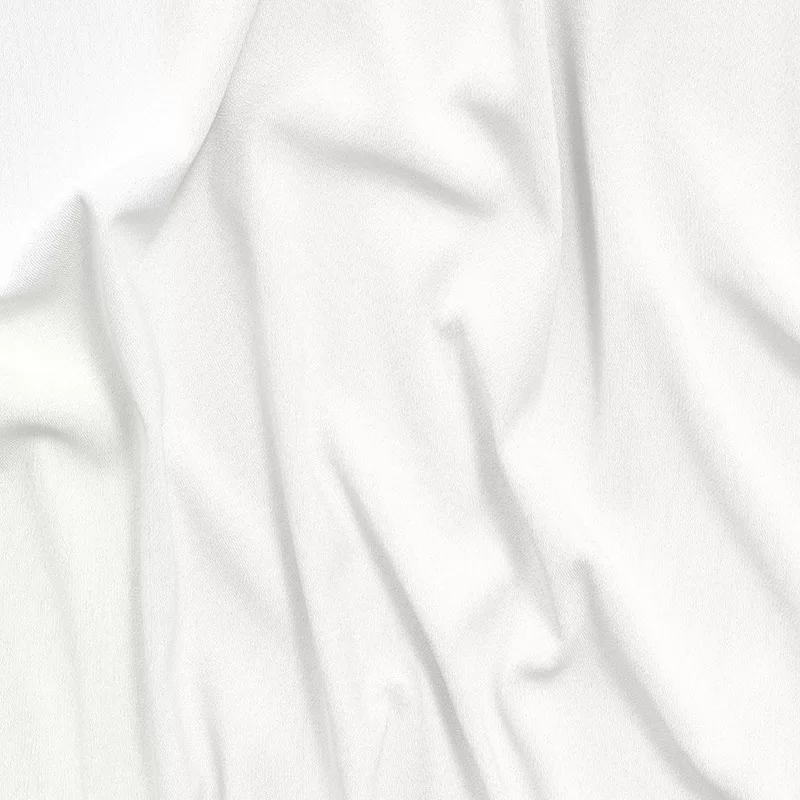
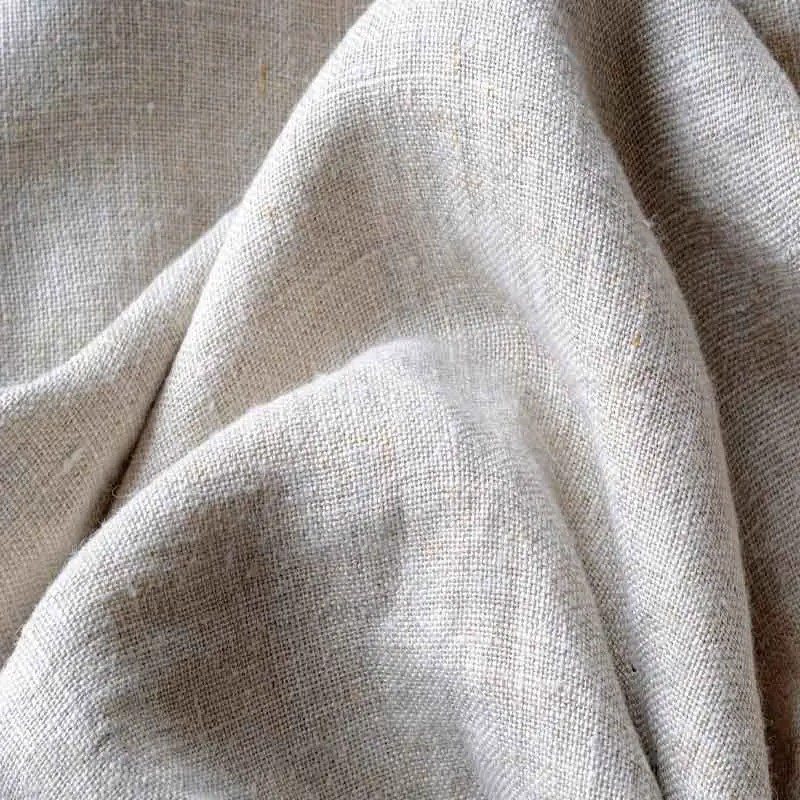
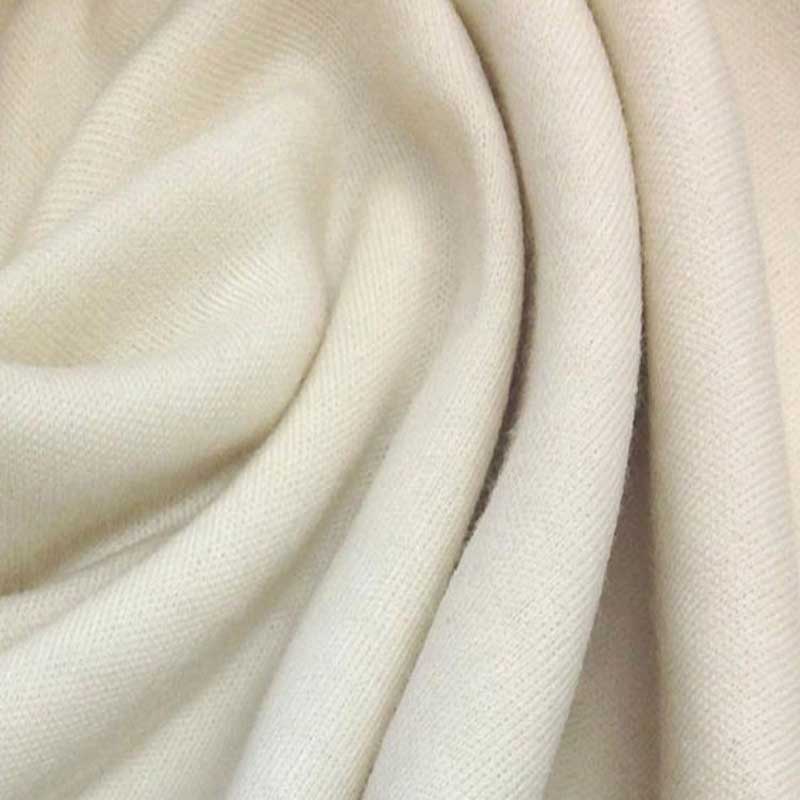
Texture and lighting appear different on different clothes. So, consider the type of clothes you are painting. Linen may appear rough or smooth, but some clothes won’t have any texture or have very little. Clothes made from cotton or wool would texture and reflect light differently than silk or man-made materials.
Besides this, when painting texture into clothes, you may be tempted to paint all surfaces the same. Textures break up the surface of the miniature, treating each surface differently. When you focus more on how you paint these textures, you bring miniature fabrics closer to the real thing.
Step By Step Guide to Painting Cloth and Fabrics for Beginners
- Step 1: Basecoat
You are going to need a solid base coat for the fabric to make them look real. Here, we use mid-tone brown. Add three layers.
- Step 2: Sketch Areas Where Your Shading and Highlighting Should Go
Thin down a little bit of Dryad bark on your palate and apply the wash to the recessed areas of the cloth.
- Step 3: Add Highlights
Here we do a 50/50 mix of Steel Legion Drab mixed with Baneblade brown and apply it over the raised edges to reflect light. Make sure to do several thin coats.
Now, apply pure Baneblade brown, keeping it thin again over the raised areas on the fabric. This step does not introduce any texture just light and shadow. Add one more highlight of Rakarth Flesh over the lightest part of the raised parts, ensuring it is thinned down.
- Step 4: Stipple
For this step, we do a 50/50 mix of Steel Legion Brown and Baneblade Brown. Take a small amount of paint on the brush and start dabbing the end of the brush on and below the raised parts but not going too down into the shadows. Again, keeping it thin, repeat this step with pure Baneblade Brown.
- Step 4: Shading
After stippling the raised parts, take some amount of Dyad black and again stipple the fabric but focus on the recessed areas to increase the shadows.
- Step 5: Highlights and Edge Highlights
Having worked in some shadows into the recesses, start placing highlights using Rakarth flesh to show where the cloth catches more light.
How to Paint Mud on Miniature Fabrics
Here, we show you how to paint old, dirty, tattered, muddy, and decayed cloth perfect for your creepy Age of Sigmar monsters, Warhammer 40K cultist, D&D, and other fantasy classics the lazy way (using contrast paints).
Here’s how to do this:
- Step 1: Base and Paint the Miniature
Before applying mud on the cloth, we assume you have done the typical basing, layering, and highlight steps. If not, read the previous section to show you how.
- Step 2: Glaze Mud
Here, we use Citadel’s Gorgrunta fur and Cyborg Brown. Thin it out with water and remove the excesses on the brush, so you don’t flood the model with paint. Make sure to apply them in thin layers so you can achieve quite smooth blends relatively easily.
Move your brush from the middle of where you want the mud to start, and then move your brush to the ends of the torn fabric. Once it dries, you only see a subtle effect. So, repeat the process four to five times to build up the intensity.
- Step 3: Stipple More Contrast Paint on the Mud
After glazing the mud color, stipple a little bit of watered-down contrast paint but make sure you have slightly more paint on your brush than you did when glazing. It helps you create little puddles of the mud color on the fabric, and as it dries, the pigment gets pushed out to the edges of those little puddles, which adds a wet mud texture.
How to Paint Weathered Effect on Fabric
Yes, you read that right, weathered effect.
Metal isn’t the only thing you can give a weathered effect in miniature painting. But, make sure you create mud on the fabric before trying this.
This step adds more depth to the mud effect, but you could also leave it with at the stippling stage since the effect will turn out really nice. To create the weathered effect,
- Pour some amount on brown (specifically brown amber when creating mud with brown paint) and Absalom 502 oil paint for miniatures on a piece of paper. Dip your brush in mineral spirit (i.e. Sansador by Winsor and Newton) and mix up a fairly wet consistency with the brown oil paint, just enough that you can flick it against a little stick.
- Then, use it to create little splatters. Get a lollipop stick, and hold it horizontally, use your brush tip to make it seem like you are hitting the stick, but make sure you face the model when doing this. What this does is create splatter effects on the fabric
- If the splatter appears large on the fabric, dip a clean brush in thinner and touch the tip of the brush on the large dot to diffuse them so it looks a little bit more like a stain soaked into the fabric.
- Do the same trick with the Absalom 502 oil paint but make them appear lesser than the brown.
- Thin down brown paint and fill in the recesses all over the model to create a build-up of dirt and let it dry.
- Again, to make it look realistic, thin down your fabric color and stipple along a few of the edges to bring a little bit of color back.
- With the thinned-down fabric color, apply tons of little scratches. Make sure to keep the paint fairly thin so use a brush with nice pointed tips.
Conclusion
Clothes and fabrics are important components you will often come across when painting soldiers and historical figures. If you’re a fan of the Warhammer realm, you are sure going to come across these accessories on your armies. Hopefully, this beginner’s guide to painting miniature clothes and fabrics will make your next project seem effortless.