How to Paint Miniature Leather and Fur
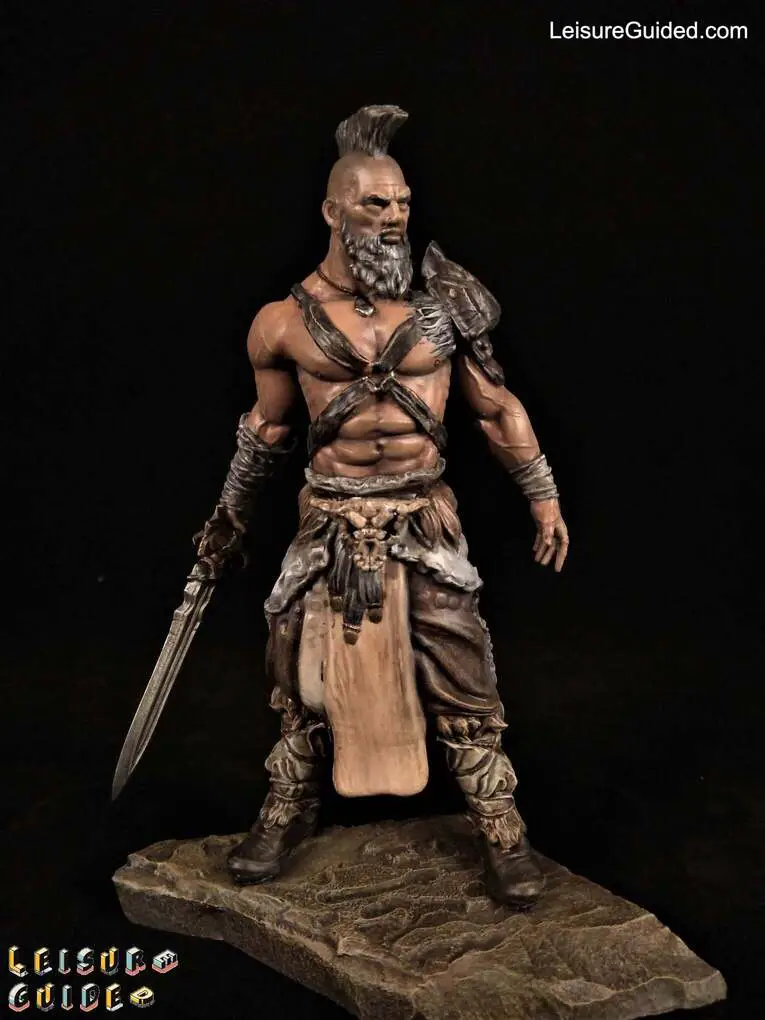
Painting leather on a miniature model is a great way to add detail and realism to your creations. From the fantastical creatures of Age of Sigmar to the battle-torn warriors of Warhammer 40k, every detail counts and there are a few key factors to keep in mind when you’re painting leather on a miniature.
So, how do you make each stroke count to get realistic effects for these scenic elements?
Introduction to Painting Miniature Leather and Fur
Painting clothing like leather and scenic elements such as fur are two details that require pro-painting skills to create the appearance of depth and texture to make them realistic.
Mini painters especially find these textural details quite challenging since they come in variations. For example, when painting leather, you should consider the type and state of the material.
Painting leather can be tricky since not all leather is brown. The miniature universe, from Warhammer 40k world to the Age Sigmar characters, is a galaxy-spanning game full of aliens. So, it wouldn’t be unheard of for your models to have white, blue, green, grey, or whatever color you want for leather.
On the flip side, undyed leather typically has a pale bone appearance and won’t require any glossy finish. The simple reason is that a glossy finish makes the brown color look slightly darker to a somewhat pale tan. Natural leather has a rich brown tone, while dark brown will typically look like when you mix Rhinox Hide and Gorthor Brown together.
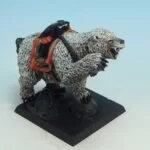
Aide this, fur is made up of thousands of strands which makes painting each strand on your miniature model challenging. The good news is that when painting fur, the number of strands won’t affect their visual appearance on miniatures. What matters when painting fur is getting its variations right – whether fine, thick, dark, brown, light, dense, or thin and where light bounces off.
Techniques for Painting Miniature Leather
One of the best techniques miniature painters should consider when painting leather is the stippling technique.
Painting Leather with Stippling Technique
Stippling is a layering technique that requires you to paint leather by creating a series of tiny dots applied with a brush.
How I typically carry out this process is to get an old worn-out brush for stabbing paint so I won’t worry about losing the pointy tip of my brush.
If you worry about ruining your brush, read our guide on “How to Keep Paint Brushes Pointed” to keep them long-lasting.
Then, I load the brush with paint, wipe most of it off on a soft paper towel and continuously stab. It’s pretty similar to dry brushing, but rather than paint in a brushing motion, all you have to do is stab.
So, here’s a short step-by-step guide for stippling to create realistic leather textures on your miniature.
What You Will Need
- Small detail brush
- Base coat color
- Wash
- Step 1 – Base Coat
Before anything, always base coat the surface to help you build realistic colors from the undertones. I usually base coat with Rhinox hide since it is pretty black and will help the topmost colors set well.
- Step 2: Apply Washes
After base coating, the leather, apply washes. If you use Rhinox Hide as your base color, then wash with GW’s nuln oil. Don’t forget to go heavy on washes. Black base color can appear bright or dull depending on the effect you give it with a wash. Apply wash generously to see the wash effect.
- Step 3 – Apply the First Layer of Paint
Here, you start building the foundation of textured leather. To achieve this, I apply the Rhinox Hide by stippling the leather surface on the raised parts and other areas that reflect light. Of course, it won’t look real at this point that’s why you need to apply a second layer.
- Step 4 – Apply the Second Layer or Highlights
For your first layer, you want a dark color similar to the base coat, but a second layer requires lighter colors. For this step, I use Steel legion Drab, pulling it back a bit like dry brushing but only on the raised panels and other areas that reflect light.
Make sure to apply lightly so the previous later still appears visible. Also, remember that real leather will typically have some amount of wear details. So, using your small detail brush, add wear lines, focusing on where the leather may fold or wear out.
- Step 5 – Add More Highlights (The Final Layer)
Again, add more highlight over the previous layer, but this time, use Citadels light brown shade, XV-88. This layer helps add more contrast and improves the worn look. So, focus more on where light reflects.

- Step 6 – Glaze (Optional)
As mentioned above, this step is optional. If after adding the last layers you like the results you get, then you’re done. If not, consider glazing the model. This step helps you tone down the previous layers so that the contrasts appear real.
Here, I mix 4 parts of Lahmian Medium with 1 part of the base color, Rhinox Hide. This mixture helps me apply tint to the painted surface for a more cohesive look. Load your brush, but not too much since you will be glazing not washing the painted surface. Then brush the paint lightly over the leather.
Techniques for Painting Miniature Fur
Painting animal fur also feels like painting leather. But with fur, I often recommend using the dry brushing technique. Dry brushing helps you achieve the contrast you want on textured surfaces with ease.
Here’s how to paint realistic fur on your miniatures using a paintbrush.
- Basecoat:
Cover the area with basecoat color, applying thoroughly on the model.
- Shade:
When you do fur, you want a pretty heavy shade since it helps you shape the fur and create texture. To do this, mix your paint with wash at a 1 to 2 parts ratio. Then, shade over the areas where the shadow will fall on the animal. Make sure the mixture flows well into the crevices so that it covers well.
- Drybrush:
using your layer paint, drybrush the parts that typically reflect light but leave the deepest crevices and underside of the tummy as shades to make the painting appear real.
- Glaze:
This step follows the same technique as when glazing leather. It helps you apply dirt, light sources, and other realistic details you will typically find on animal fur.
Conclusion
Painting realistic leather and fur is tricky with the different varieties, amount of texture, and details they have.
Still, the process is easier than you think when you know the right techniques to work with. Besides this, the trick is to make everything look as real as possible.
Real leather looks worn out in different spots, while fur may appear messy, sleek, and dense. That’s a lot of details to paint on one model. But, if you get these right and can also detect where they reflect light, replicating real-life leather and fur in miniature painting will be a breeze.