The Secret to Painting Miniature Hair and Fur
Miniature painting is fun, but painting textures, especially hair, and fur, can be one of the most challenging processes you may have to face.
From their short appearance to long, fluffy, messy, straight, and colorful variations, painting miniature hair and fur is one process that requires patience and skills.
Don’t have the skills? Don’t fret. Today, we will share some secrets about painting human, artificial hair, animal fur, or whiskers so that they appear real.
Some Important Facts to Consider When Painting Hair and Fur
Hair and fur have strongly defined textures, especially as they consist of thousands of strands. Then again, while human hair and animal fur depend on their strands to give them density, you can’t really paint every single detail of these strands on miniatures since they are barely visible on the model.
When painting miniature hair and fur, the key thing to consider is how light reflects on the strands, how the head or body is shaped, and their waves.
Hair and fur typically have a 50/50 light-to-dark balance, but with fur, the upper part often appears lighter than the bottom.
However, different hair requires different painting approaches. Since human and animal fur may appear straight, messy, thick, curly short, thin, dense, and with different colors, it means if you’re painting short curly hair, you won’t use the same miniature painting technique on crew cut.
Hair is translucent, and focusing on the light source won’t always work out well sometimes.
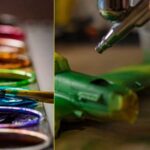
Regardless, washing and dry brushing or good techniques that work well to bring out sculpted hair and fur textures. Most people even paint fur with an airbrush.
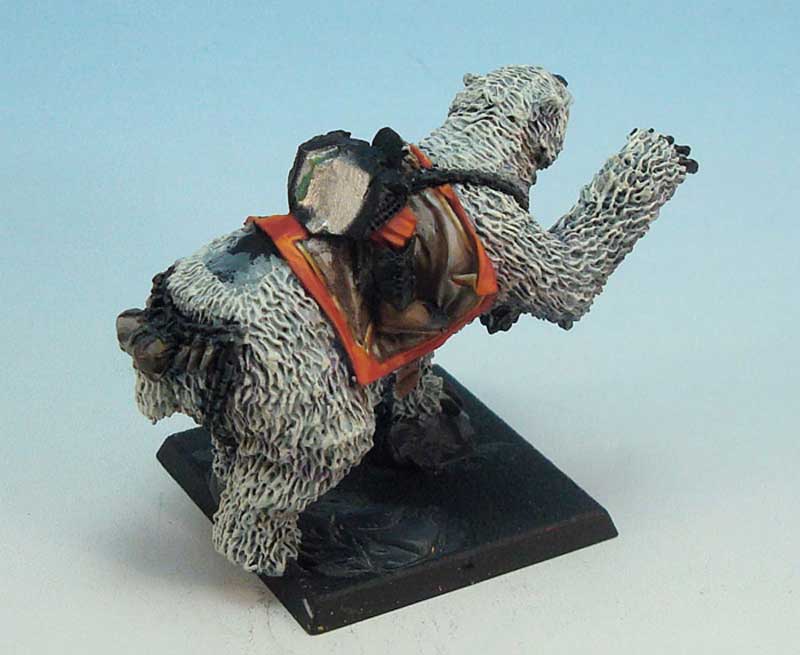
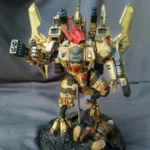
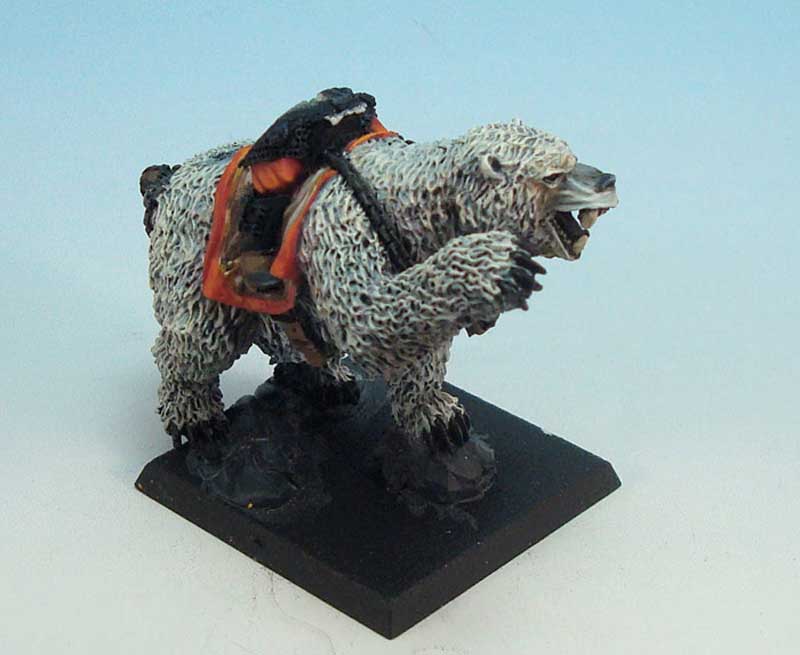
Techniques for Painting Fur
A lot of miniatures have fur on them, and there are loads of ways you can paint these details using different colors.
Note: For this technique, we will show you how to paint fur grey color
You will need:
- Paintbrush (medium base and layer brush)
- Base color – mechanicus standard grey
- Layer paint – Administratum grey
- Wash – Nuln oil
- Highlight details – White scar
The process:
- Step 1: Apply Basecoat
Starting with a medium base brush, thin the base paint and apply it on the fur. To get the best coverage, apply two thin coats.
- Step 2: Layering the Top Upper Part of the Fur
Take a medium-layer brush and apply the layered paint halfway down the fur. Do a second coat, but this time only a quarter way down the fur.
- Step 3: Layer the Bottom Part of the Fur
Dip your brush in watered-down nuln oil and start painting the bottom part but only a quarter way up. You want to keep this coat thin to create the right color contrast.
- Step4: Create Highlights to Merge the Upper and Bottom Parts
Once all colors dry out, it’s time to merge them using the dry brushing technique. With your dry brush, collect paint and make sure to remove excesses. Then, brush lightly over raised parts to highlight and merge the fur.
Techniques for Painting Hair
Like Furs, there are many different ways to paint hair on miniatures.
- Paint Flat, Long Hairs on Miniatures
When painting long, flat hair, the first thing you should know is that light from the front bounces on the front part (around the edges) and the sides while the top part appears darker.
On the other hand, long, flat hairs often have some waves when they come down to shoulder length and bend below. So, when painting these types of hair, you want to include these details. Also, focus on the general shape of the hair to make it look more instead of painting each strand.
A good way to paint long, flat hair is:
- Basecoat the hair your preferred color
- Add your first highlights on areas where light bounces off the most. I naturally start adding highlights from the sides of the hair, focusing on any areas that feel and look bumpy or raised.
- Apply a second highlight around the front part of the hair that naturally curves when they reach and flow below the shoulder. Then, let it dry.
- Painting Hair on Fantasy Figures
Most fantasy figures have their hair tied up in a ponytail. While this may seem tricky, the same technique used on long, flat hair will work great here. Just focus on the general shape of the hair and highlight parts where light reflects most than painting each strand.
For these figures, light typically reflects more around the front part of the hair, darker on top, and lighter on the edges of the ponytail.
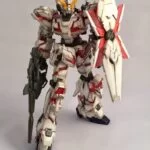
- Paint Hair on Space Marine
Hair on space marines typically looks like short or crew-cut styles.
When the light reflects from above, you will see the light bouncing from the center part of the hair. From the front, it bounces on the hairs on the front part of the head. But, this can also differ with each character and hair type.
Note: For this technique, the light source will reflect brighter on the edges, especially on the curves by the side of the head.
Here’s a step-by-step process:
- Basecoat the hair with a dark brown shade
- Then, using light brown color, paint thinly in circles around the edges where the light reflects most.
- With the dark brown shade, apply another thin layer of paint around the center of the head so that it doesn’t reflect any light.
- Then, take your dry brush, dip it in white paint, clean off the excesses, and dry brush over the light brown color to intensify light reflection.
- Paint Bearded Hair on 3D Figures
Now, it’s time to paint beards!
Like most long and curly hair, most bearded miniatures have waves. So, when painting beards on miniatures, the first thing you should know is that the insides and outsides of the curves reflect light like in real life but with the raised edges being more pronounced.
The Process:
- So, we start with applying the base coat in Rhinox Hide. You want to start with a darker color before moving to lighter shades.
- Layer with Mournfang brown, a shade lighter than Rhinox Hide. But make sure you only use this paint on the front parts of the beards to show where light bounces naturally.
- Add a lighter coat of brown with Citadel’s Deathclaw brown, but this time, on the raised edges so that the beards appear natural.
- Apply white color on the raised parts for more highlights.
Tips for Painting Miniature Hair and Fur
- Always thin your paint
Building multiple texture layers can be painful and becomes tasking if you use thick paint. Thinning the paint helps you control paint flow and avoid unwanted textures to achieve smoother transitions.
- Use the light Source as a Guide
Without considering this step, your highlighting process may seem off. Try to envision where the light will reflect most on the hair and fur, especially on the raised areas, and apply highlights accordingly.
- Paint with good Lighting
If you’ve never painted miniatures before, you won’t really consider this step. But most experienced mini painters understand that without good lighting, getting the right textures on small details like hair and fur may be difficult. So, make sure you are painting in good lighting.
Conclusion
So, how should you paint miniature hair and fur? When painting miniature hair and fur, experimenting is key. Every technique has its advantage, but it’s not so easy to master more than one technique without getting the whole process mixed up. Most painters avoid painting small details like fur and hair because they can’t seem to create a realistic effect on them. Still, what really matters when painting fur and hair is how light reflects on these surfaces and how they flow and contrast.
If you’re considering painting fur or hair on your next project, hopefully, these techniques will help you get it right this time.