Wet sanding plastic models (Do it right! avoid damage)
Can I wet sand my plastic model? Do I need to use dish soap when wet sanding it? Can I use any grit sandpaper between layers of paint?
These are three common questions many first-time model builders ask when considering wet sanding options for their plastic models.
Wet sanding is no new technique among modelers. In fact, many builders use them on their metal and balsa wood kits to give them a super glossy finish. But, like the assembly process, and every other process of building your scale model kit, it has a learning curve.
If you’re wondering whether you can use wet sanding on your plastic model, we’ve got you covered.
Should you wet sand plastic?
If you’re thinking about whether wetting your plastic model is good, the answer is that you can wet sand your plastic model as much as you like.
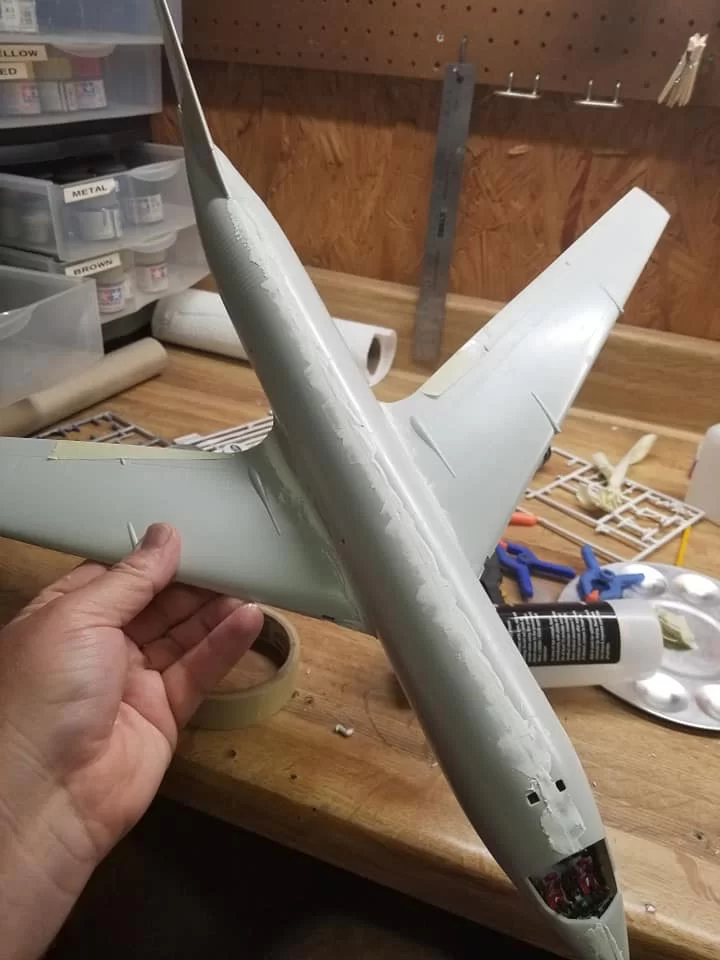
Wet sanding makes it possible to achieve an extra smooth and glossy showroom finish.
Unlike dry sanding, which leaves bits of dust in the environment, wet sanding is a safer alternative. Besides this, you want to be careful when sanding your plastic model kit.
Sanding your plastic model means you’ll be applying friction to your kit’s surface. It also means generating heat, thanks to the friction rubbing with the sandpaper creates.
The major downside of plastics is that it is not heat-absorbent. So, when you use too high pressures when sending the plastic and generate heat, you risk hurrying the surface of your model as it could wrinkle the paint and even melt the plastic.
How to wet sand plastic models
Wet-sanding is no difficult task, even for beginners. Here’s all you need to wet sand your plastic models.
Tools to wet sand plastic models
- Any size bowl or bucket to hold water
- Water
- Any brand of dishwashing soap
- Micro mesh abrasive cloths or sandpaper (360 to 1200 grit)
- An old but neat rag
- Sprayer
- Face mask
- Hand gloves
Now that we know what you need to wet sand your plastic kits, it’s time to get directly into the process.
- Take the bowl and put in a couple of drops of dishwashing soap.
- Pour a small amount of warm water into the bowl.
- Use your finger and slosh water and soap together to get a good mix.
- Take the coarser grit (the 360) and dip it into the water mixture to get it wet.
- Dip your model into the water or put a small amount of soapy water onto the part you want to wet sand.
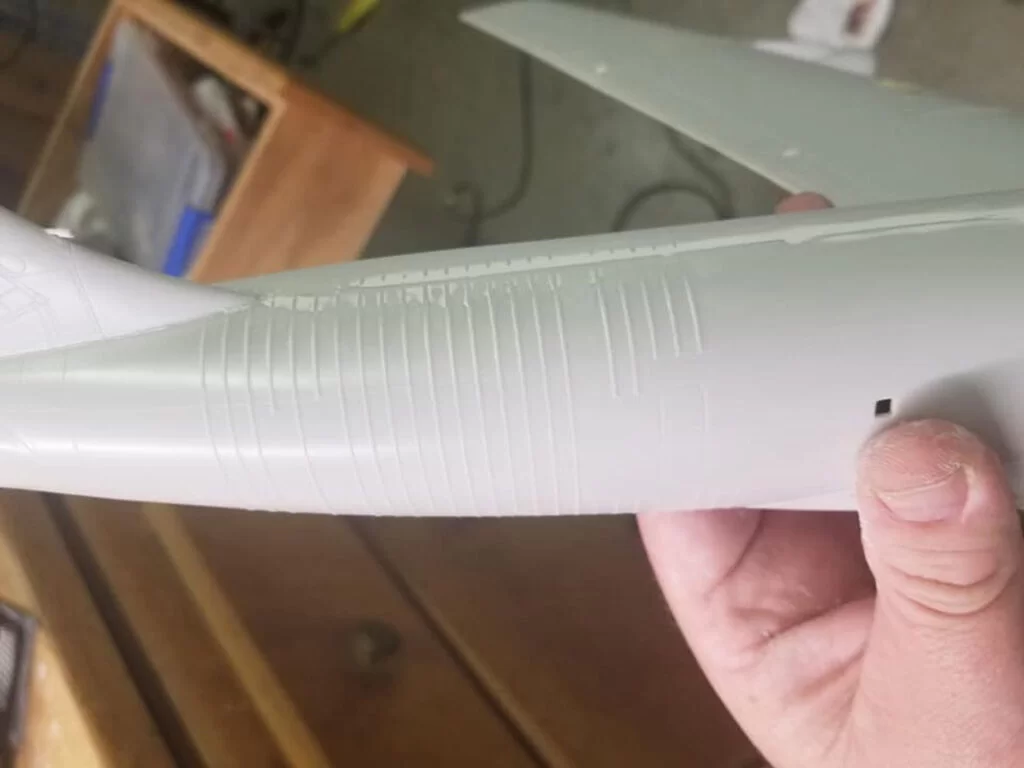
- Start wet sanding in one single direction. Make sure the sanding paper goes in the opposite direction (up and down and sideways) so that it can mask the scratches you’ll mostly leave behind, thanks to the coarse papers.
- Start with the back-and-forth motion along the length of the model. You don’t really want to push very hard. Just let the paper do the work. You also don’t have to do it very long. Just enough to make sure it covers the whole part. Then, let it dry.
- Do the same with the 400-grit paper, but add a little more soapy water to the model. Use the sideways motion this time. That way, you’ll cover any scratch marks left after using the 3600-grit paper.
- Make sure you go through every grit you have in opposite directions, and you’ll get a pretty smooth and glossy finish.
- Use the rag to wipe dust and sand debris from the model.
Choose the right grit sandpaper for plastic models
Depending on how much imperfection you have to remove from the model or if you need to level off, you can use 200 to 1200-grit sandpaper.
An 800-grit paper will work better on a model that’s relatively smooth already. The only time you should use higher grit is when you’re polishing transparent resin to be crystal clear.
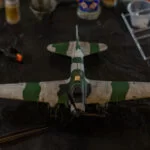
Military models and armored tanks with matte finishes will work well with 200 to 300-grit paper, but if you’re building a sports car, it means you need to give it a mirror-glossy finish. So, you’re going to be doing a lot more sanding than a 300-grit paper.
Choose a detergent to clean the models
Yes, you can use any detergent when wet sanding your plastic models. Dish soap works better. When you use regular detergent, it may strip off the protective layers on the paint, especially if not fully cured.
The only time a dish soap won’t really provide good results is when you use them between coats of paint. It could also strip the paint since they are not fully cured.
Pro Tips For Wet Sanding Plastic Models
- Be careful when using the abrasive or sandpaper on your model. You don’t want to apply much pressure because you can burn through your paint. If this happens, you may have to strip the whole paint and start all over.
- Any grit will work on your model but always start with coarser ones.
- Take care using water with acrylic paints as it could reactivate paint during wet sanding. However, you won’t have a problem wet sanding your acrylics as long as it is fully cured.
- Dish soap is not really a must when wet sanding, especially if you’re considering wet sanding between coats of paint, as it could strip paint. Water will also be good enough to give good results.
Conclusion
Wet sanding is an easy-to-follow process that removes any tiny imperfection, like scratch marks on your models. It also helps you achieve either a color coat or clear coat depending on the model. However, it can leave more damaging effects if you do it wrong. Just follow the simple tips above, and you’ll have your scale model kits looking like a perfect work of art.