Miniature Rocks and Stones Painting Techniques

Painting stones on miniatures is one of the best ways to give your terrain and models a natural, authentic, and realistic look. Plus, there are so many techniques for painting stones.
If you’re currently painting a miniature base or headstone for your Age of Sigmar chaos Army, in this guide, you will learn how to bring miniature rocks and stones to life with the miniature painting technique.
Painting Miniature Rocks and Stone
Stones and rocks are two textures that make up terrains. On miniatures, they make your bases and landscape look real.
Before painting stones on miniatures, understand that there are different stone textures you could actually create. Limestone, gravel, sandstones, basalt, granite, and shale all have different colors and works best on different terrains.
For instance, when painting water effects for a marine base, limestone textures work well since you can find them in shallow sea waters. For terrestrial bases, sandstone gives your miniature landscape a more realistic effect, while gravel looks good on any terrain.
Regardless, always consider the terrain you want for your miniatures before deciding how to paint the rocks and stones.
Techniques for Painting Miniature Stones and Rocks
Want to paint realistic stone on your Age of Sigmar, Middle Earth, and Fantasy wargame terrains? Here’s a step-by-step guide to put you through the whole process.
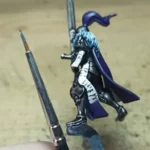
- Step 1: prime the model
I typically prime my stone black. You can use grey primers to help your paint stick and achieve realism.
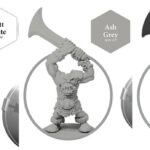
- Step 2: Basecoat Stone and Rock Textures
Next, apply two to three basecoats with a 1:1 ratio mix of Citadel’s Mechanicus Standard grey and Lahmian Medium.
For miniature bases with stone textures, you can simply basecoat the whole surface using this mixture, but when painting large rock textures like headstones, apply basecoat only on surfaces that catch the light. Avoid adding this paint on very dark recesses.
- Step 3: Apply Grey Color Lighter than the basecoat
Now, do a 2:1 mix of Lahmian Medium and Citadel’s Dawnstone and apply it generously all over the stone, but make sure to avoid painting over recesses closer to the edge of the rock to create shadow areas like in real life.
- Step 4: Do Step 3 Again
Again, do the same process as step 3 to build a highlight on the stone. However, unlike the 2:2 mixture used in step 3, do a 2:1:1 mix of Lahmian Medium, Dawnstone, and Karak Stone paints to build light textures than the previous step.
- Step 5: Apply Wash
This is probably the easiest part of the miniature painting process. Here, all you need to do is get Citadel’s Agrax Earthshade and paint it over the entire surface of the rock. Just make sure to do so lightly to keep the wash from pooling thickly in areas you don’t want them to. Let it dry completely before moving to the next step.
- Step 6: Stipple Texture on Rock to Create a Mottled and Gritty Surface (Optional: When Painting Large Rocks)
In this step, you only need a stiff brush to apply flecks of paint or small dots on the stone. I typically apply four coats of paint when stippling over stone and rocky surfaces.
To start with, stipple Dawnstone then uses Rakarth Flesh and moves to Flayed One Flesh and Pallid Wych Flesh. With each dot you stipple, focus more on the raised areas to create a gradual shift in tone while ensuring it looks natural.
- Step 7: Repeat Step 6 But with Sponging Technique (Optional: For Large Rock)
Like step 6, we use 3 colors Reikland Fleshsahde, Seraphim Sepia, and Athonian Comoshade to create more subtle color variations across the stone. However, you may want to mix them with a Lahmian Medium at a 1:6 ratio to create the final blend on the stone.
So, tear a piece of foam, dip it in the first mixture with Reikland Fleshshade, remove excess paint, then dab the paint randomly on the rock to create very subtle mottled effects on the rocky surface. Do the same with the Seraphim Sepia and Lahmian Medium mixture followed by the Athonian Comoshade and Lahmian medium mixture, and that’s it.
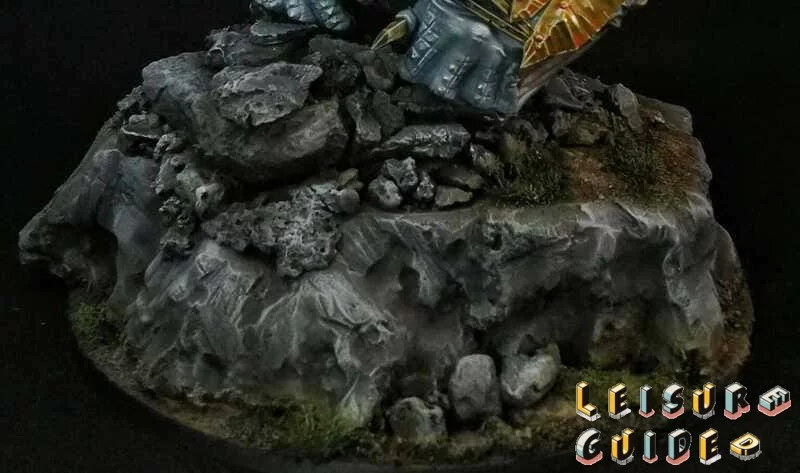
If you’re painting large rocks like headstones, consider adding moss and lichen on recessed parts so they have a life-like appearance like rocks you will typically find on the mountain.
Tips for Painting Miniature Rocks and Stones
- Study realistic rocks to see how they look before painting stones and rocks.
- When painting stones and rocks on miniatures, always use a light base coat, followed by a darker contrast paint, which comes out grayish when the colors blend.
- Paint granite stones with a dark red color and limestone with a creamy color or sometimes a blue-grey ink.
- Don’t forget to glaze and dry brush. For most of my base, I often cover a dozen or so different colors so the rocks and stones won’t look monochromatic.
- When choosing colors, especially grey, use at least three different tones. Blue-grey colors make the rock look more muted, while warm yellow greys will make them seem brighter like they are basking in the sunlight.
- Avoid mix-matching tones as it can make the results look unnatural.
- When dry brushing the rocks, ensure their top or raised parts are brighter than the bottom.
- Build the painted layers as thinly as possible, so you don’t overdo them.
- Try not to cover the recesses and bottom parts of the miniature during the build-up so that you don’t end up with a flat texture.
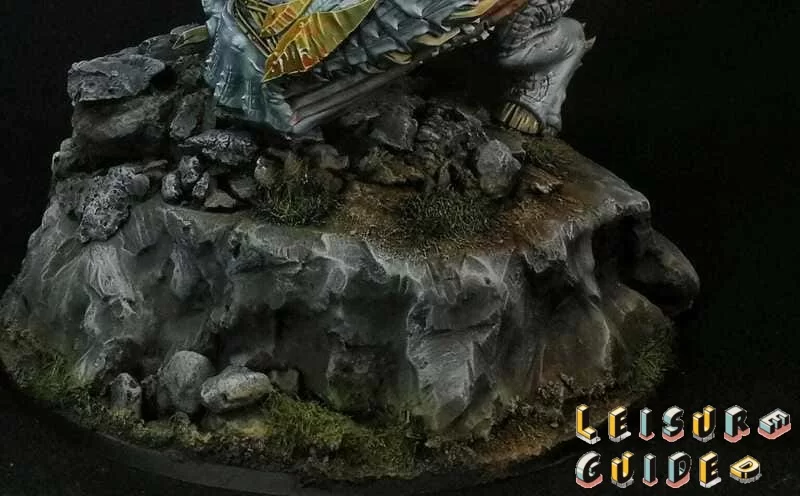
Conclusion
Painting rocks and stones take a lot of steps to complete. However, the tricky part about painting rocks and stones is that they come out flat if you fail to make them look real. Yet, the good news is that you can easily bring them to life by adding color variations for more interest. Regardless, if this is your first time painting rocks, don’t fret. Just follow the steps above, and you can effortlessly give your rocks and stones the realistic textures they need to stand out.