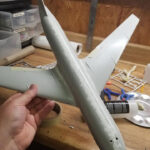
Best sanding sticks for models (Get the Right One)
Sanding sticks are standard for detailing models. In fact, they are a significant part of an average modeler’s toolbox. They typically range from small to medium and large and are convenient and easier to store than sheets of sandpaper and blocks.
Then again, every brand model will differ in terms of offerings. Some will offer top-quality materials, while others may not be so friendly.
For instance, if you’ve used Emery board sanding sticks as I have, you’ll know they are too wide. On the other hand, Tamiya’s sanding sheets aren’t rigid enough and don’t have a wide range of grits for sanding models.
Dive Deeper:
What grit sanding sticks are best for models?
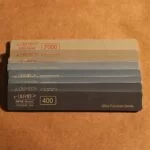
Having so many grits on a small number of sticks makes for a compact sanding toolkit. Hence, you need to be sure that you have between 40 to 2500 grit sanding sticks in storage when sanding your models.
I generally have up to 7000 grit. But some you need to consider are the 240 or 320-grit sanding sticks, for really rough removal of plastic.
Also, stock finer grits between 400 to 800 for general sanding. Then use 1200, 2000, and 2500 for final surface buffing. You can also finish off with 7000 grit sanding sticks, which give a nice flat but smooth finish.
The Best Sanding Sticks For Models
Let’s discuss the best sanding sticks modelers can get, including DuraSand, AK Interactive, Keystone, Flat file, and even a cheaper alternative, nail buffers.
Each of these sanding sticks has its pros and cons, making them suitable for different types of modelers. Here, we will take a closer look at each sanding stick to understand how they work, what grits they come in, and what makes them unique.
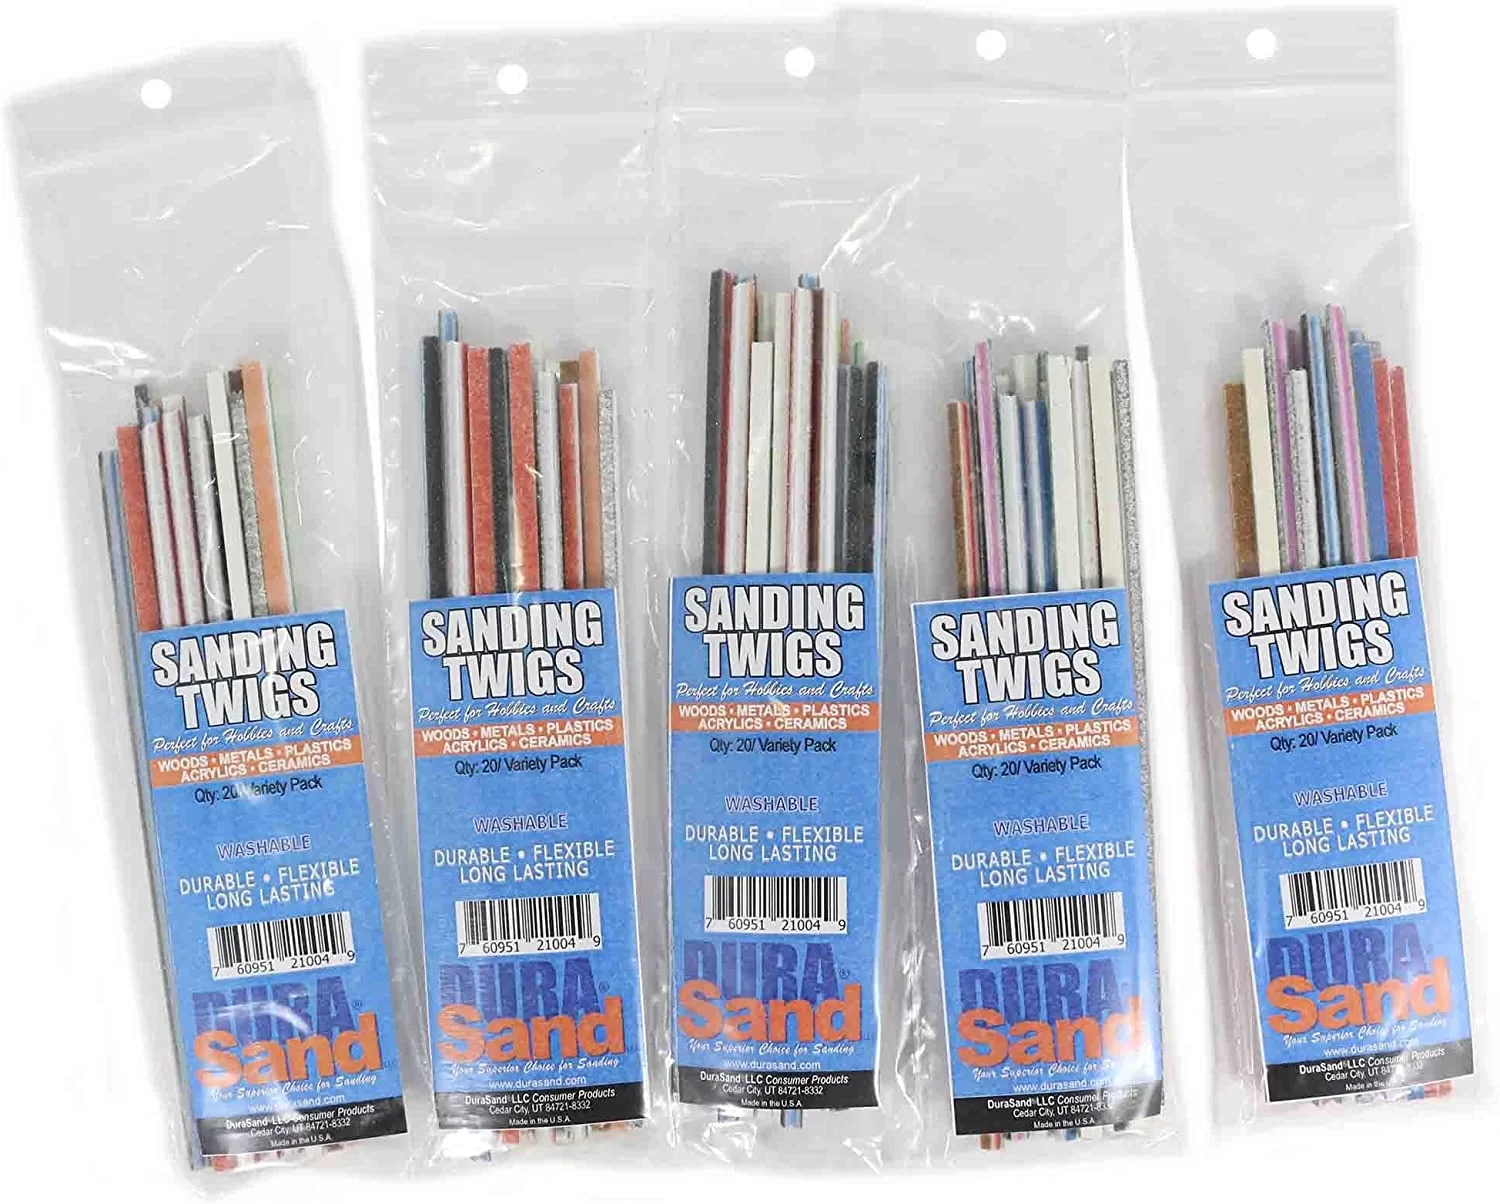
1. DuraSand sanding twigs – The One I Use
Sanding twigs perform similar roles as sanding sticks on scale models.
Yet, unlike typical sanding sticks with a plastic core, Durasand designed their sanding twigs with sturdy foam cushion support. In fact, you can easily get fine, medium, and coarse grits, including the 80, 100, 120, 180, 220, 240, and 320-grits.
The best part of buying Durasand’s micro sanding twig is that it enables you to reach spots typical sandpapers and sanding sticks won’t reach.
Durasand Pros
- Strong adhesive
- Perfect for sanding hard-to-reach places
- Assortment of grits
Durasand Con
- A bit on the expensive side

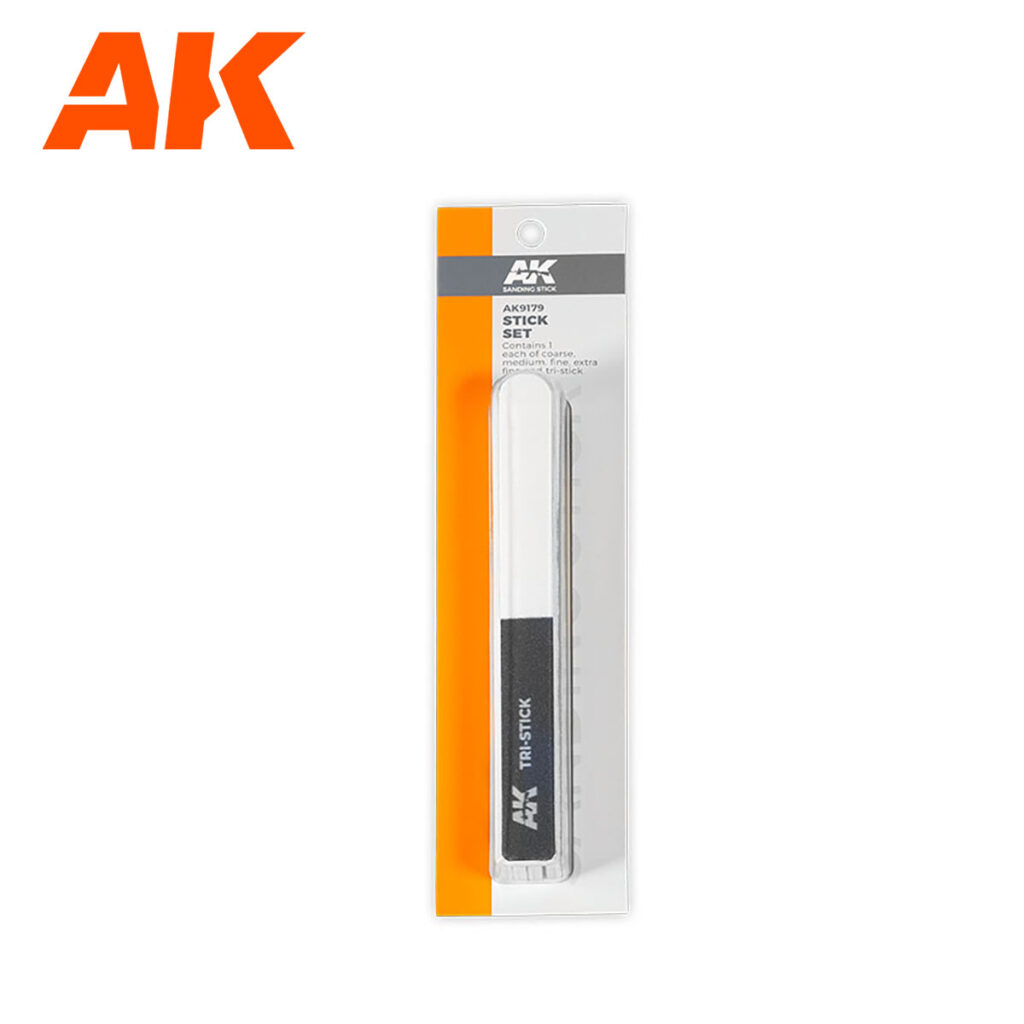
2. AK Interactive Sanding Sticks – a Great Option
Whether you want a medium sanding stick or fine or coarse ones, AK interactive has all in stock.
What I love about AK Interactive’s sanding sticks are their precision sanding and smoothing qualities.
Reinforced with Plastic sheets and different grit sandpapers, these sanding sticks can reach small gaps, although with minor efforts on your part.
AK Interactive Pros
- Quality abrasive
- They have medium, fine and coarse grits
- Perfect smoothing results
AK Interactive Con
- They are a little stiff
3. Keystone Sanding Sticks – Worth Your Consideration
Keystone sanding sticks are also great for prepping plastic models for painting.
They offer a good variety of grits, from coarse to fine, that makes sanding and smoothing your kit’s surface possible.
Plus, while they’re not designed for heavy sanding, they can reach awkward places sandpapers alone won’t reach.
Keystone Pros
- Different levels of grit
- They’re soft enough to squeeze into tight spaces
- Decent quality
Keystone Con
- They aren’t really durable

4. Flat file sanding stick – The Pro’s Option
Designed with a plastic body and high-quality abrasive surface, this Flat file sanding stick will work perfectly for wet and dry applications.
It comes in grits from 100 (or coarser) to 2000 (or much finer) and is especially good for needing a flat sanding surface in tight crevices.
The best part of using this Flat file sanding stick is the possibility of replacing the grits with any other one you want.
Flat file Pros
- Inexpensive
- Easy to use
- Easy to change strips
Flat file Cons
- Won’t last long

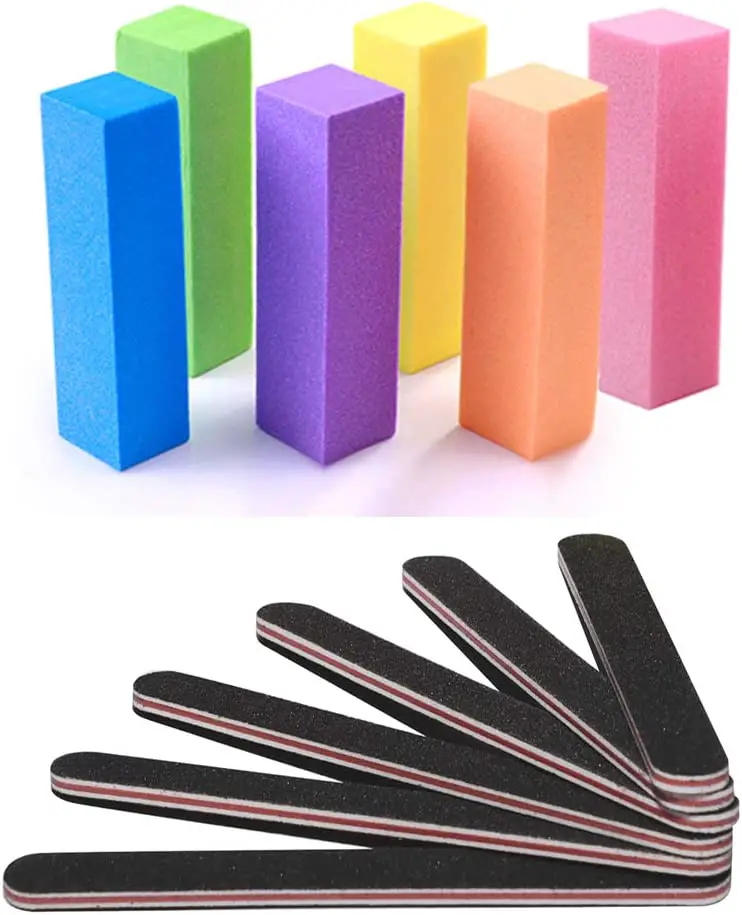
5. Use any supermarket nail buffer – The Beginner’s option
Do you know that a nail buffer also works similarly to a sanding stick? If you observe them well, they also have coarse and fine sides.
Nail buffers have four sides and several grits and polishing surfaces that are perfect for plastic parts. They do an awesome job of making parts look good. Much cheaper than sanding sticks and does the same thing, if not better. The only drawback to them is that they’re large so using them on small pieces could be a problem.
Pros
- Cheaper than sanding sticks
- Easily accessible
- Pretty decent finish
- It several grits
Cons
- They are large, which makes it difficult to reach some parts of your models
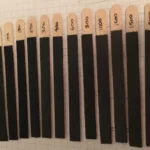
Make Sanding sticks yourself
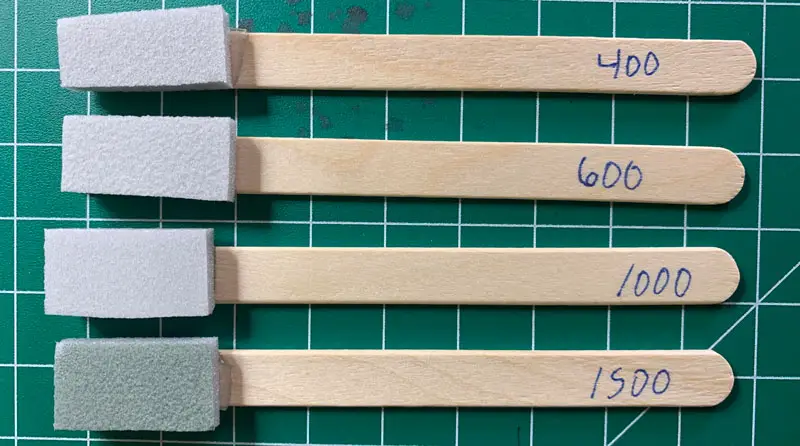
If spending some dollars on a sanding stick does not sit well with you, or you want more durable ones, then you can make some yourself.
To make a sanding stick yourself, consider the following:
- Get some styrene sheets, depending on the specific thickness you want to serve as a base for the stick.
- Use popsicle sticks or tongue depressors as the stick base
- Buy loads of sandpaper in varying grits at any hardware store.
- Use double-sided sticky tape to secure strips of whatever sandpaper you want.
- Make sure each stick has a coarse and fine side. For example, one has 400 and 600grit on each side, and another with 800 and 1200 grit.
Avoid over-sanding your plastic models
Over-sanding can occur when you continue to sand a particular area even after you have achieved the desired smoothness or shape. This can result in creating unwanted divots, bumps, or even holes in the surface of the material. Here are some tips on how to avoid over-sanding:
Sand in stages: It’s important to sand in stages, starting with a coarse grit and gradually moving to finer grits. This will help you achieve the desired smoothness and shape without removing too much material at once.
Use the right pressure: Applying too much pressure while sanding can cause you to remove more material than necessary. On the other hand, applying too little pressure can result in uneven sanding. Aim for a moderate amount of pressure and let the sandpaper do the work.
Check frequently: Stop sanding periodically and inspect the surface for any scratches, bumps, or unevenness. This will help you avoid over-sanding and achieve the desired result.
Use the right technique: Depending on the material you’re sanding, it’s important to use the right technique. For example, sanding in circular motions may be more effective on certain materials than sanding in a back-and-forth motion.
Start with a light touch: When starting to sand a new area, begin with a light touch and gradually increase pressure as needed. This will help you avoid removing too much material too quickly.
5 important Tips for Using Sanding Sticks Effectively:
- Choose the right grit: Sanding sticks come in a variety of grits, so it’s important to choose the right one for the job. Generally, a coarse grit (around 120) is good for removing material, while a finer grit (around 400) is good for smoothing and polishing.
- Keep the sanding stick flat: To ensure even sanding, keep the sanding stick flat against the surface you’re sanding. Avoid applying too much pressure or tilting the stick, as this can result in uneven sanding or gouges in the material.
- Work in one direction: Sand in a single direction, rather than back and forth, to create an even finish. This helps to prevent scratches and uneven spots.
- Check your progress frequently: As you sand, periodically check the surface to see how much material has been removed. This will help you avoid over-sanding or sanding unevenly.
- Use different shapes and sizes: Sanding sticks come in a variety of shapes and sizes, so it’s important to use the right one for the job. A round stick is great for sanding curved surfaces, while a square or rectangular stick is better for flat surfaces.
Conclusion
So, are sanding sticks worth it? The answer is Yes.
The problem many mini painters face when using sandpapers is that some are designed with cheap materials. So, they become dull and rip quickly.
Sanding sticks are a different story, especially the four listed here. They can hold up well in any application and won’t cost a fortune.