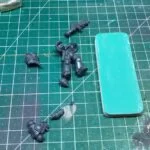
Best sanding sticks for miniatures (For Professional Results)
If you’re like me that find sanding materials for more than 1-2 kits challenging, getting sanding sticks should be the next move.
Sanding papers play a functional role in keeping 3D figures and small minis smooths. In fact, I have several packs of sandpaper between 320 to 12,000 grit. However, their major drawback is that you use them up fast. Plus, sandpapers are known to clog fast and go all shiny when worn out completely.
So, if you’re considering getting good sanding sticks for your miniature kits, here are some to consider:
Why You Should use Sanding Sticks For you Miniatures
Sanding sticks are an essential tool for miniatures because they allow for precision sanding of small and detailed areas that cannot be easily reached with other tools.
Miniature models often have small imperfections, such as mold lines that need to be removed for a clean and smooth finish. Sanding sticks can also be used to shape and smooth surfaces, blend areas of paint, and create texture on miniatures.
Using sanding sticks can help improve the overall appearance and quality of the miniature model. Additionally, sanding sticks are easy to use and can be shaped to fit the contours of the miniature, allowing for more precise sanding and a professional-looking finish.
1. Squadron sanding sticks
A couple of Squadron sanding sticks are useful to have on hand when sanding your minis.
The only drawback to these sanding sticks is that they don’t have the best longevity. You’ll only use them on two to three miniatures before the sanding material starts to wrinkle.
Besides this, Squadron sanding sticks are convenient when you just don’t feel like cutting up some more sheets of sandpaper. Individually they come pretty cheap too.
You’ll get one for less than $2 at a local hobby shop. The best part is that it has assorted sizes from 320 to 200 grits.
Pros – Squadron sanding sticks
- Cheap
- Assorted grit sizes
- Easy to use
Cons – Squadron sanding sticks
- Wears easily

2. Micromark sanding sticks
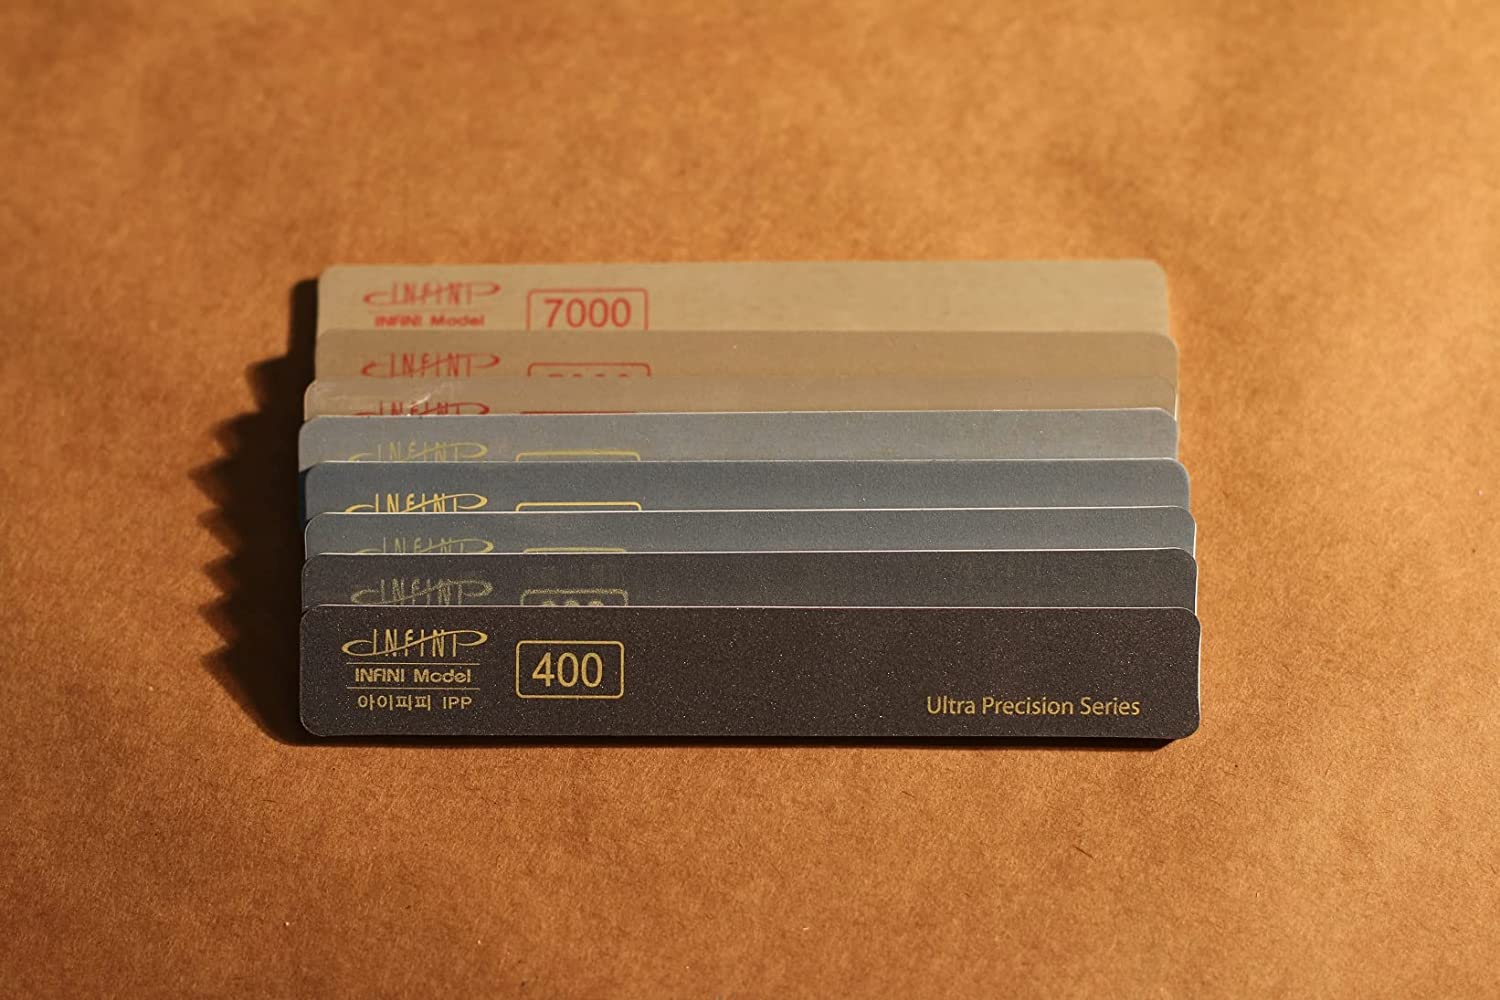
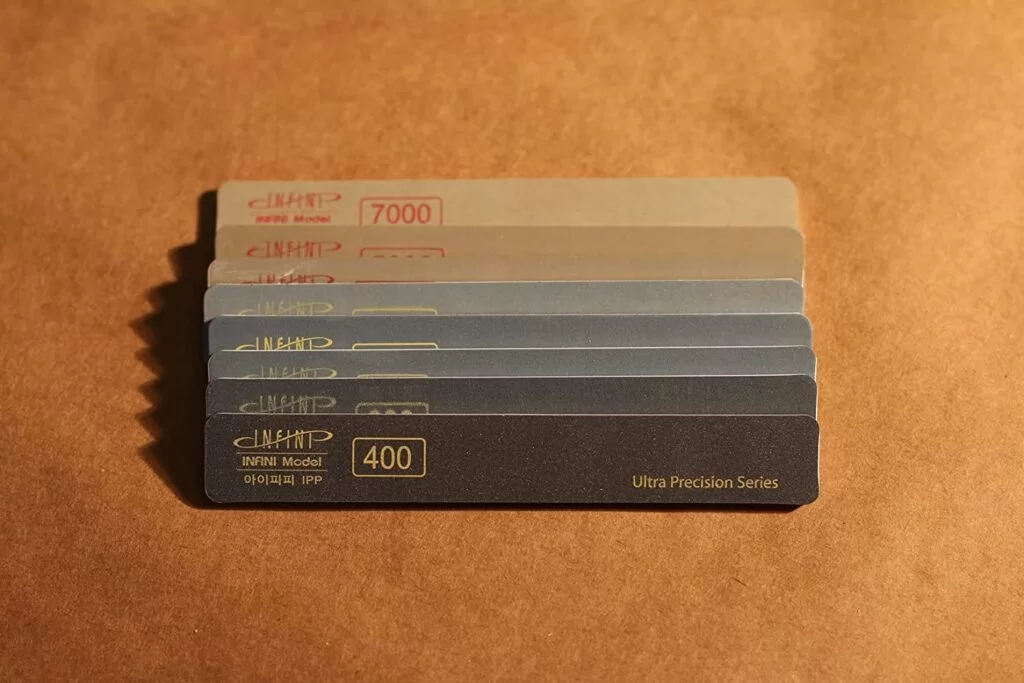
Do you need a sanding stick that works well with plastic minis, such as those from the D&D board games and the up-and-coming Reaper Bones minis? Micromark makes some fine ones.
The best part of getting Micromarks sanding sticks is that they work excellently for dry or wet applications.
Plus, they have high grit ranging from 400 to 7000 grit (400, 600, 800, 1000, 2000, 3000, 5000, and 7000). Their added use of a flexible foam allows bending the stick to sand hard-to-reach edges possible.
Pros – Micromark sanding sticks
- High grit
- Perfect for dry and wet sanding
- Flexible, making it easy to reach hidden spots
Cons – Micromark sanding sticks
- Low grits are very difficult to get

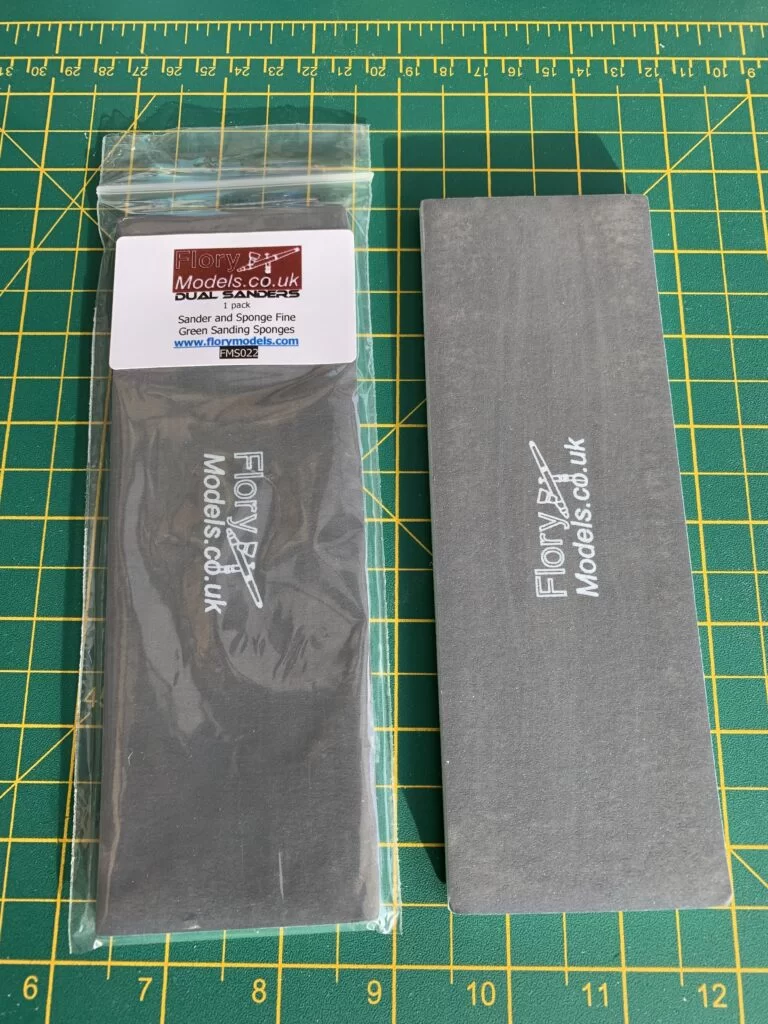
3. Flory models sanding sticks
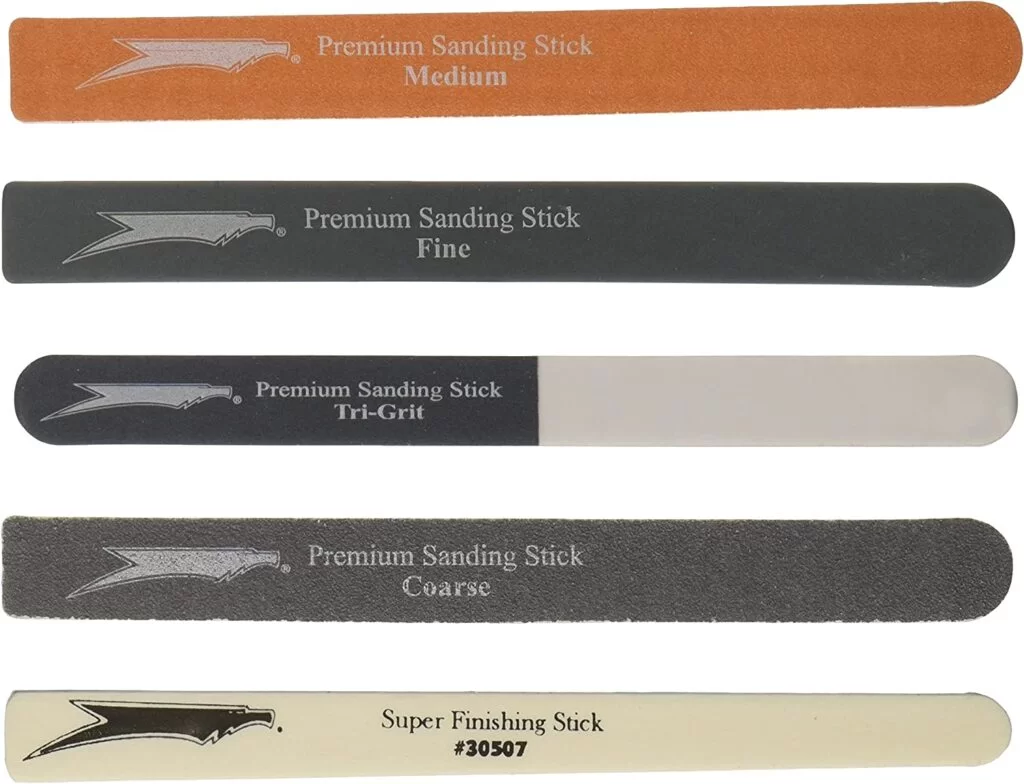
Another sanding stick model you should consider for miniatures is Phil Flory’s sanding sticks.
While they’re designed basically for models, they also work well on miniatures. Plus, you won’t obliterate vast quantities of detail by accident when using these sanding sticks.
I’ve used Flory sticks and can’t fault them. They come in various grades, and you get a decent amount in the packs.
Pros
- Has varying grades
- Perfect for small details
- Decently priced in the pack
Cons
- It cost a few dollars higher than most sanding sticks

4. Durasand Mini Sanding Sticks
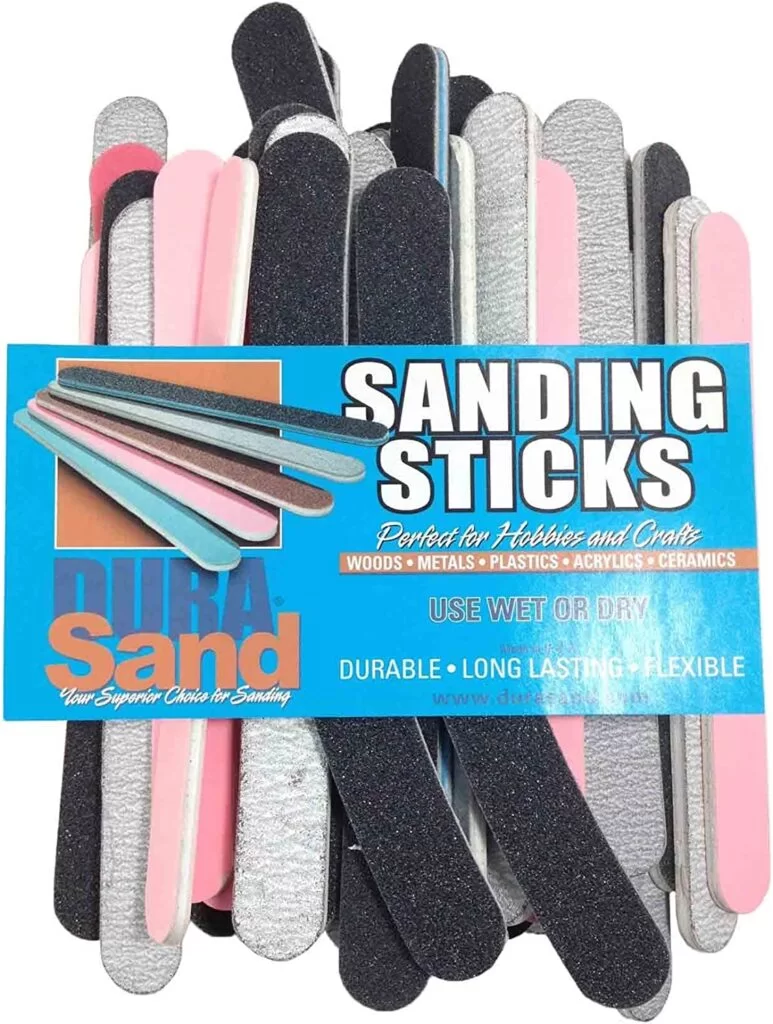
Durasand is quite popular for making long-lasting products, and their sanding sticks are no different.
I love these sanding sticks because you can use them on many different kinds of material, especially for metalworking.
The sanding sticks are of decent quality and very similar to the fingernail boards you see in the beauty supply store.
Pro
- Multiple grit sizes from 80 to 400
- They hold up well
- Decent quality
Cons
- Higher grits aren’t always available

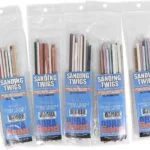
5. DuraSand Sanding twigs
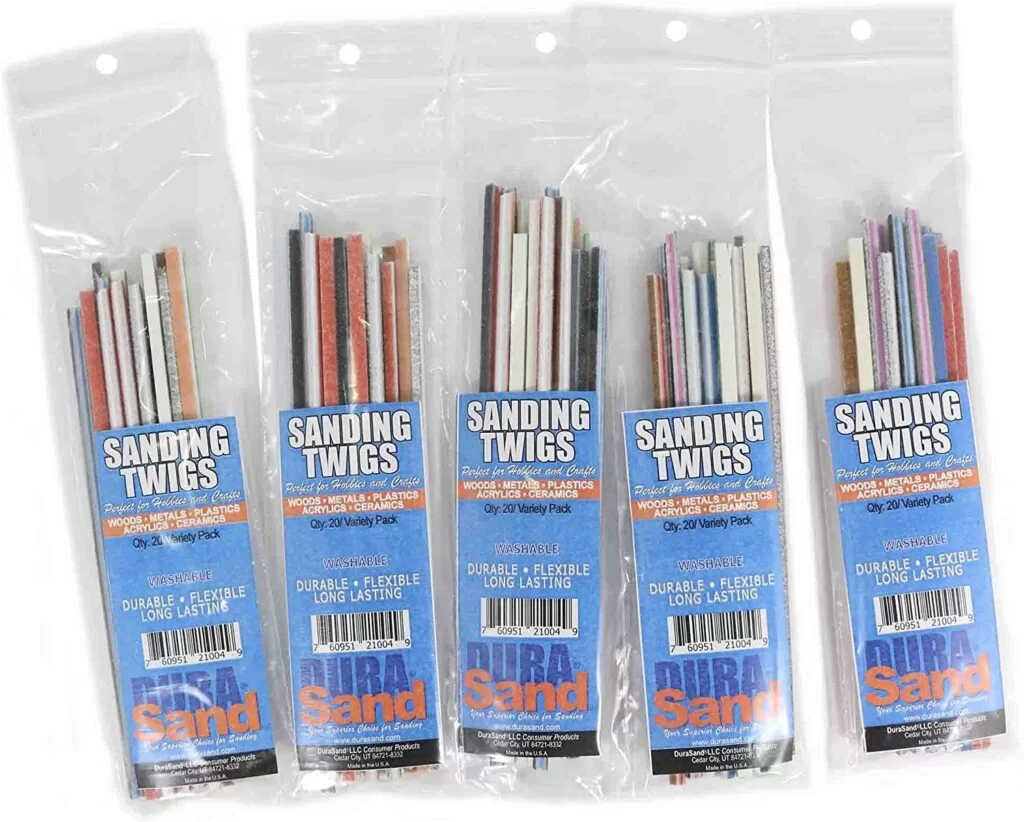
These are smaller versions of our sanding stick. But, unlike sanding sticks which take lots of effort to reach tight spaces and narrow corners, sanding twigs are great for detail sander projects that require micro sander operation.
They’re basically thin strips of sandpaper on a foam or cardboard stick. Yet, what makes them stand out is their flexibility.
With abrasive along two of the long edges and a slightly flexible consistency, they can quickly smooth out any rough edges on your minis.
Pros
- Smaller than a pen but more flexible
- Cheap
- Quality material
- Washable
Cons
- It might take a long time to sand surfaces with their small size

6. Use a nail file
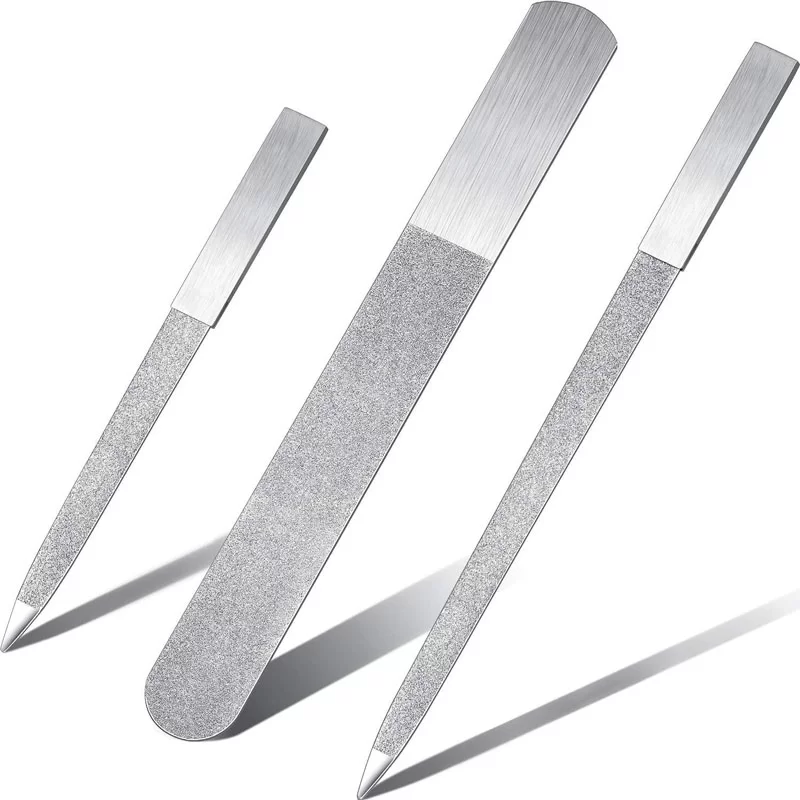
If you’re looking for more budget-friendly sanding sticks but don’t want to use model-specific ones, my advice is to raid the beauty aisle and get a nail file.
Nail files look like sanding sticks and work exactly like them. Plus, you’ll find lots of different grits. Just remember not to get the glass files. They are not good even for nails since they always leave scratch marks.
Besides this, a set of fine nail files will fulfill 90% of your sanding needs, unlike sanding sticks that only finish certain parts.

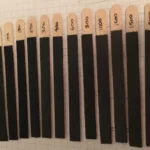
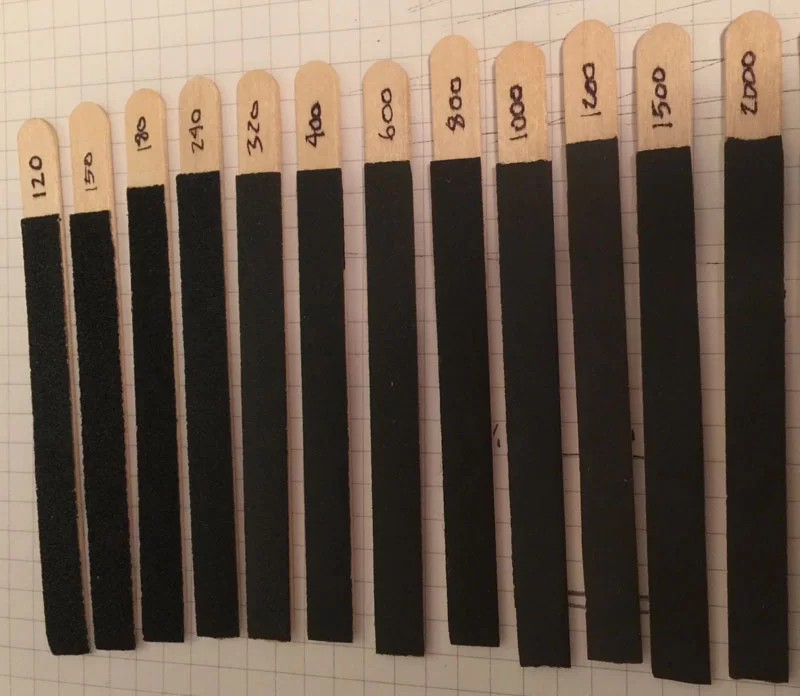
7. Make it yourself
While you can substitute with a nail file for most tasks, you won’t always have them in stock. In this situation, try creating a homemade sanding stick.
What you’ll need
- Popsicle sticks, McD stirring sticks, or tongue depressors
- 80 to 12000 grit sandpapers
- Glue or double-sided tape
- Scissors
How to make a homemade sanding stick
- Get your preferred stick
- Cut the sandpaper into different grits and arrange them close by
- Rub glue all over the stick and glue the sandpaper on each stick at a time. If you’re using double-sided tape, just stick one side of the tape on the stick and the other side with the sandpaper.
- Trim the edges until it looks neat.
- Make sure the sanding stick each have a course and medium side.

What grit is best for miniatures?
When using sanding sticks on your figures, the lowest grit you should use to start is 400. You want to choose only a really high grit sanding stick for your minis.
1200 and 2400 grit sanding sticks are great after removing mold lines and help make your minis surface very smooth.
Any grit number lesser than 400 will work well when prepping the joints of your figures.
How To use Sanding sticks on miniatures (the right way)
here’s a step-by-step guide on how to use sanding sticks for miniatures:
- Choose the right sanding stick for the job: There are various types of sanding sticks available in different grits, so choose the appropriate one for the job. A rougher grit will remove more material but may leave scratches, while a finer grit will smooth out any scratches left by the coarser grit.
- Hold the miniature: Depending on the size and shape of the miniature, you can either hold it between your fingers or use a miniature holder or a painting handle to keep it steady.
- Sand with the stick: Start sanding the miniature with the sanding stick, using gentle and even pressure. Move the stick in a back-and-forth motion or in circular motions, depending on the shape of the miniature and the area you are sanding. Avoid sanding in only one direction, as this may create noticeable scratches.
- Check your progress: Check your progress frequently by running your finger over the sanded area to feel for any rough spots or scratches. If you are sanding a hard-to-reach area, use a magnifying glass to inspect the miniature closely.
- Repeat with finer grits: Once you have achieved the desired level of smoothness, switch to a finer grit sanding stick to remove any remaining scratches or imperfections. Repeat this process with even finer grits until the miniature is completely smooth.
Remember, it’s important to take your time and be patient when sanding miniatures. Rushing the process can result in damaging the miniature, so be gentle and take breaks if needed.
Conclusion
When buying sanding sticks, you’ll find ones wide on one end and narrow on the other.
You’ll also find ones that wear out super-fast. Choose one of these best sanding sticks for miniatures or follow our guide on how to make one yourself and you’ll get some firm and soft sanding sticks for your small miniature kits.
