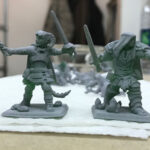
How to Paint Miniature Water Effects
Are you thinking about making a swamp base or water wave effects for your miniatures?
Painting effects, from glow to weathered and water effects are often hard to work out on miniatures but don’t worry, we’ve got you covered.
A Quick Tip: Use Vallejo’s Transparent Water Gel and Still Water Color
When painting water, especially waves, miniature painters often use green stuff and two-part resin to create water-like effects. While they help you create the contours and raised surfaces you need to make water effects, getting the right mix can be difficult. Mixed wrongly, they dry sticky and may damage your painted work.
I often recommend Vallejo transparent water get for creating water effects.
You’ll probably hear most miniature painters say it shrinks when it cures, so they don’t feel confident using it. Vallejo transparent water gel is water-based. Hence, the reason why it shrinks is that it evaporates when it cures. When it shrinks, you can easily add more depth.
On the other hand, the deeper water you need, the more layers you need to use. Also, if you need to fix small details, you can brush them with a brush or toothpick.
Still, want to use clear resin? Vallejo still water also works well with this stuff.
Since they dry quite transparently, all you need to do is apply them over the resin material as you will with texture paint and let it cure fully. The effect you get will look simply glorious.
Techniques for Painting Miniature Water
There are several different techniques miniature painters can use to make water effects, from applying the clear medium to painting water effects using water texture paints or both, how you do yours depends on your goals.
Note: here, we explain how to paint a sea still water base for miniatures.
What You Will Need:
- A wooden base for your miniature
- PVA Glue
- Clear Resin
- Small paint brush
- Vallejo Water Texture (clear)
- Vallejo green water
- Mixing bottle
The Process
- Step 1. Prime, base, and paint your model. Then, glue it to the base.
- Step 2: Add textures
In simple words, create your terrain. Add fine sand, rock a bit of cork to create rock. Since you’re making a seawater base for your miniature model, you want the base to actually look like a sea. So, when placing these land textures, don’t scatter them around. I tend to place my land textures toward the front of the base.
- Step 3. Paint, wash, and dry brush the base
After creating land on the base, I base coat with gray color (from any brand of your choice, but I use Citadel’s Mechanicus Standard Grey). Then, use Nuln oil to give the basecoat a natural feel and dry brush with Administration Grey and Dawnstone to add depth. Remember, do this step only on your land elements and leave the surface you plan to paint water bare.
- Step 4: Build a Base Layer for the Water
Next, I cover the bare part of the base in Vallejo Transparent water. Don’t worry about the initial shape after adding this water effect. You can easily create small details with a toothpaste or brush.
- Step 5: Basecoat the Water
Wait for the base layer to cure, then do two thin base coats using the Stegadon Scale Green color to create more realistic watercolors.
- Step 6: Glaze toward the Land
Find a middle point and start glazing towards the land. I use Ahriman Blue for this effect and paint in three to four layers.
- Step 7: Add Vallejo Still Water Effect
Vallejo’s still water effect looks like a clear liquid, so no matter how rough the results look, you’re always sure to get a well-covered water accent in your base. Let it dry for some hours before moving to the next stage.
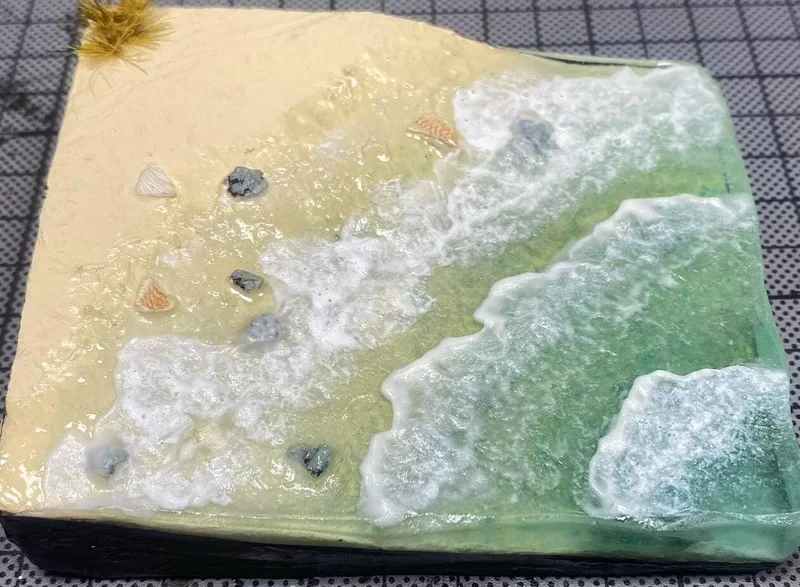
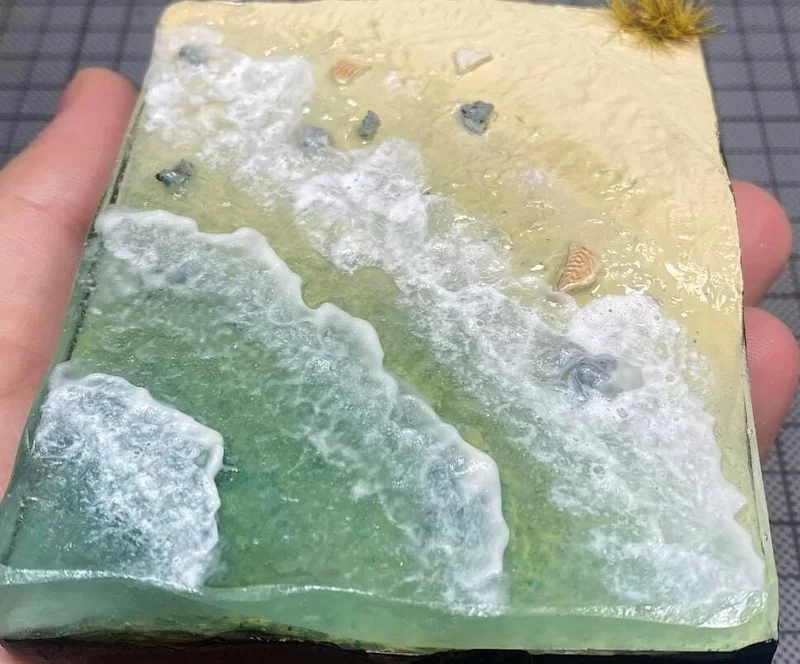
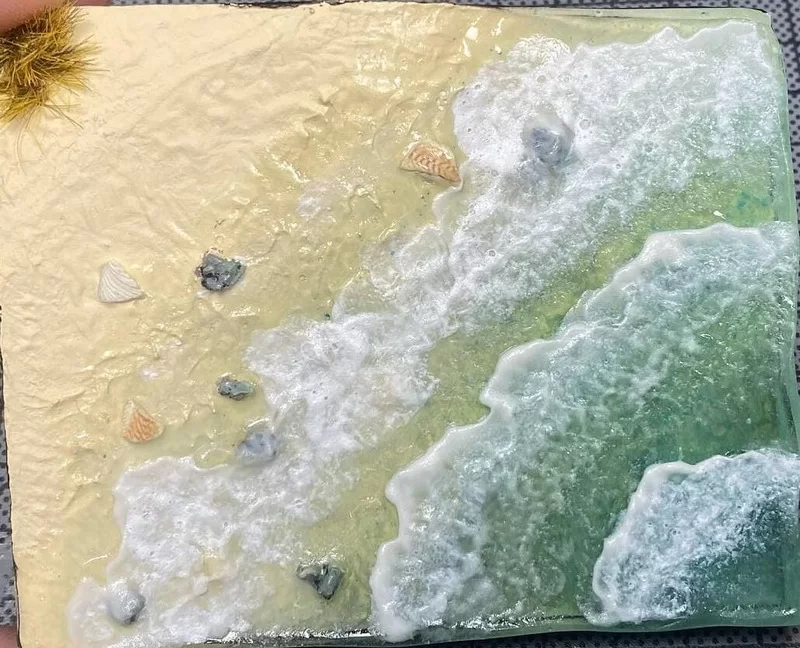
- Step 8: Build Up Wave Effects on Sea
Again, using Vallejo’s Transparent Water gel, start to build up the waves. To do this, I use an old brush and apply the gel so that they look like twisted lines. Add this gel two to three times to build up density and give it more energy like waves. Again, leave it for some hours to dry.
- Step 9: Highlight the Edge Details with White Color
Before adding white paint, make sure to thin it down a little. Then using the drybrush or stippling technique, soak the tip of the brush in paint and clean off the excesses. Then, pick out the edges for a more realistic effect.
Troubleshooting Common Issues with Painting Miniature Water Effect
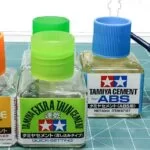
If you’ve tried using two-part resin to make a water effect on your base, but messed it up and got sticky results, it’s because you are not getting the ratios right. Beginner painters don’t know that how well they mix anything in miniature painting determines how well the results turn out. When you use small amounts of clear resin, they are easy to mess up. You want to build volume so that they don’t damage easily.
Two-part is great if you know how to use it, and it doesn’t shrink like Vallejo’s transparent water gel when it cures, but not mixing the components right means you won’t get the result you are aiming for.
Conclusion
Like every effect in miniature painting, painting water effect is tricky and a process that requires a lot of patience. To get it right, make sure you’re using the right mixture and amounts, whether when using Vallejo’s transparent water gel or two-part resin. Also, give time for every color or texture you add on the base to dry well before applying the next. You don’t want your long hours of painting to end up as a sticky mess.